
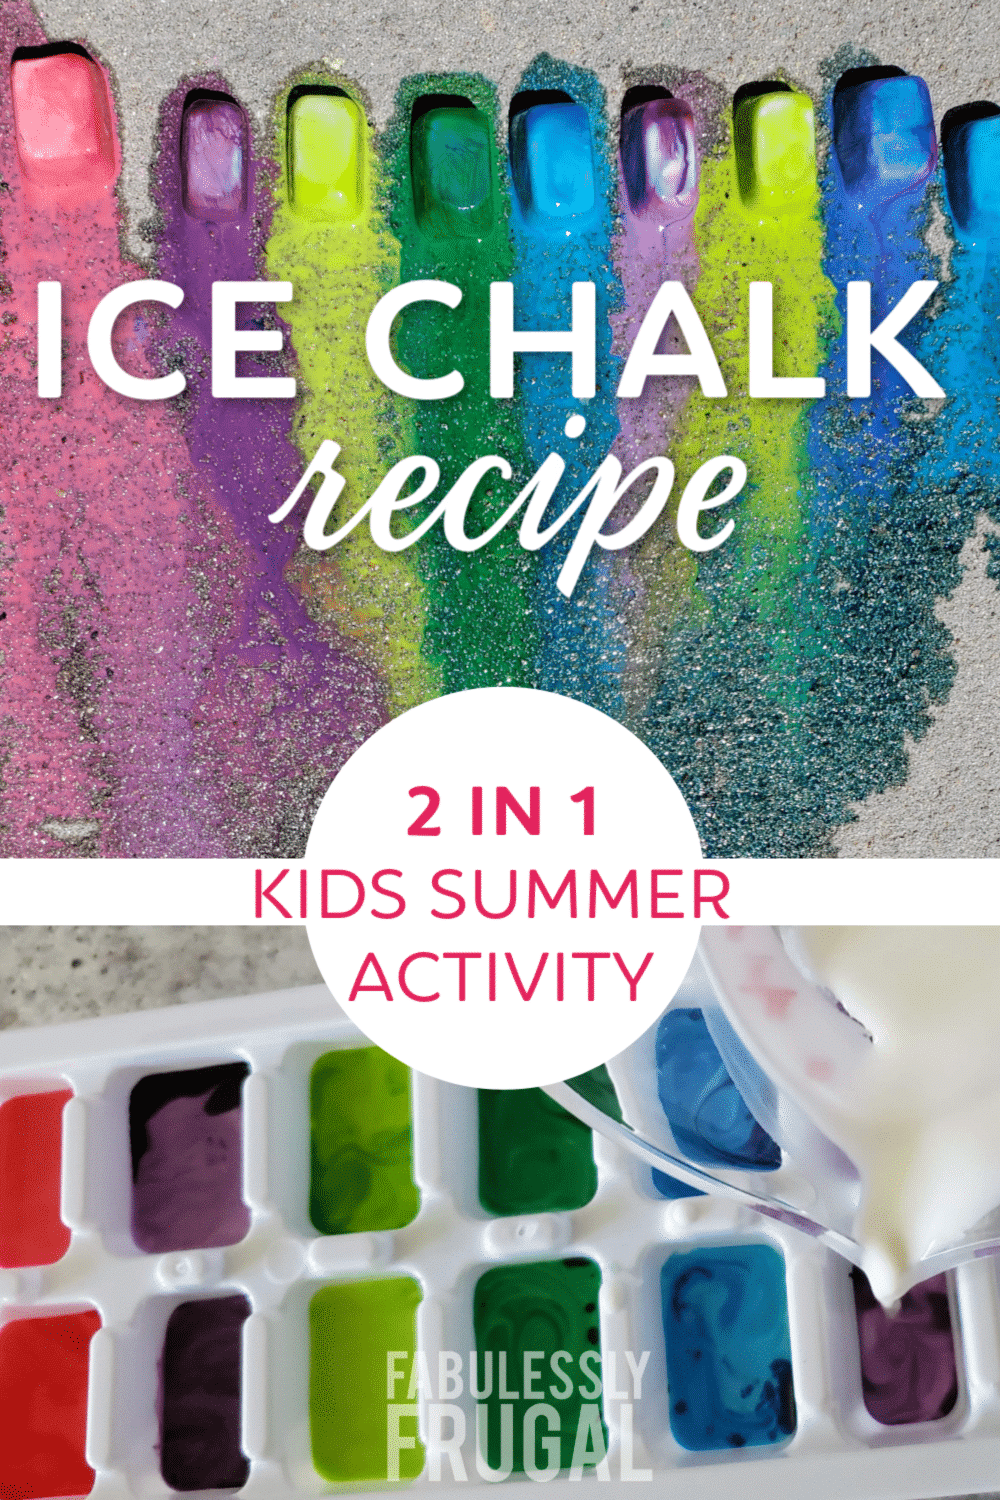
DIY Ice Chalk for Hours of Summer Fun
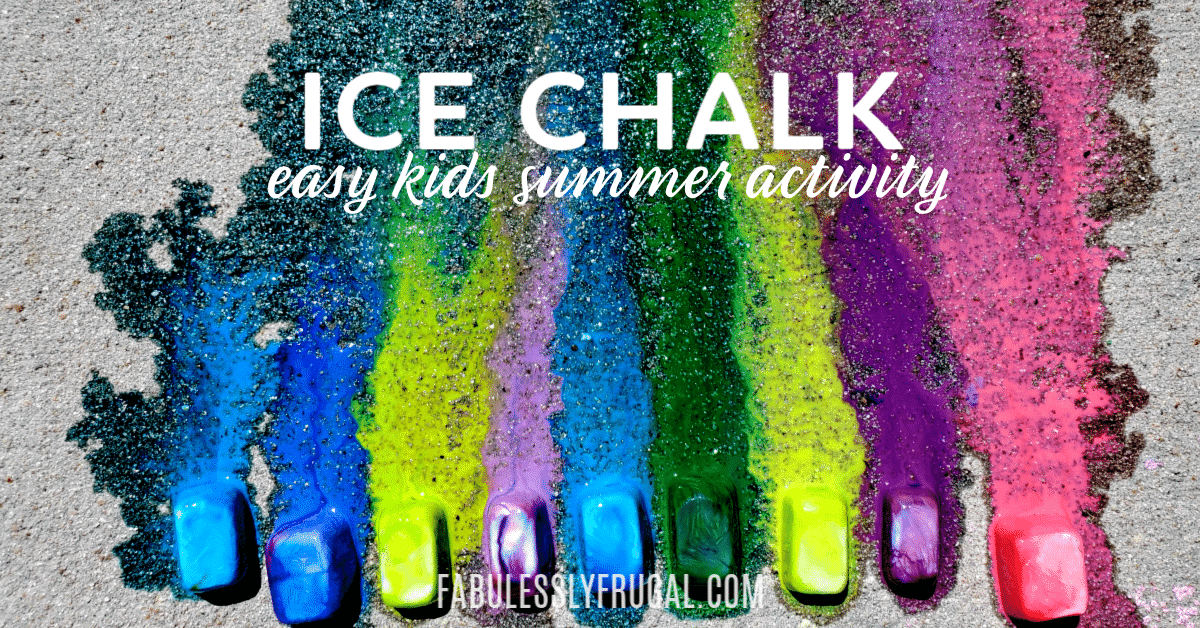
Easy Homemade Ice Chalk Recipe
Summer can get pretty long! Especially those first few weeks when the kids are just out of school and we haven’t settled into a summer routine. I like to keep them busy with new activities that they can learn from and enjoy.
We tried this easy DIY ice chalk recipe and it was super fun, especially on a hot day! Frozen chalk makes for a great art, science, and sensory experience all in one.
How to Make Ice Chalk
Ice chalk is very simple to make, you will just have to plan ahead to have time to freeze the “chalk”. We checked the cubes after 2.5 hours in the freezer and they were ready to go!
This is a recipe that can be made with whatever you have lying around the house. No need to go out and buy things just to entertain your kids for a few hours. Get in your pantry, get out the corn starch, and find whatever coloring material is available!
It is super easy to do and it will entertain your kids for HOURS. Trust me!
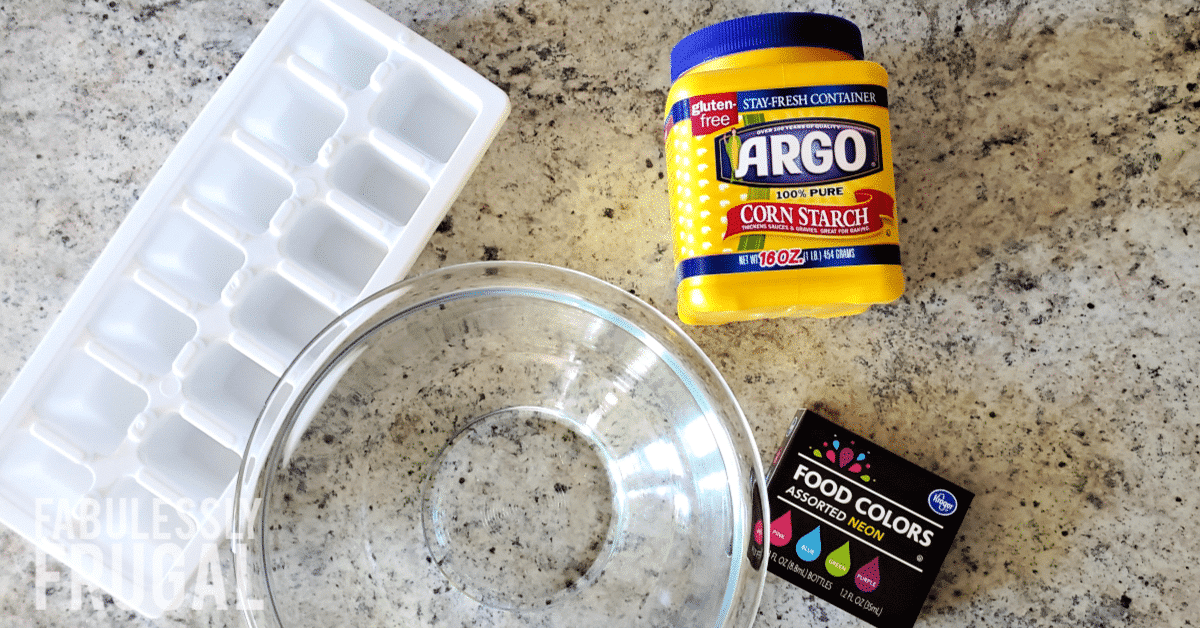
Frozen Ice Chalk Ingredients:
- 1 cup Corn Starch
- 1 cup Water
- Food Coloring
- Ice cube tray, Popsicle molds, or shaped ice molds
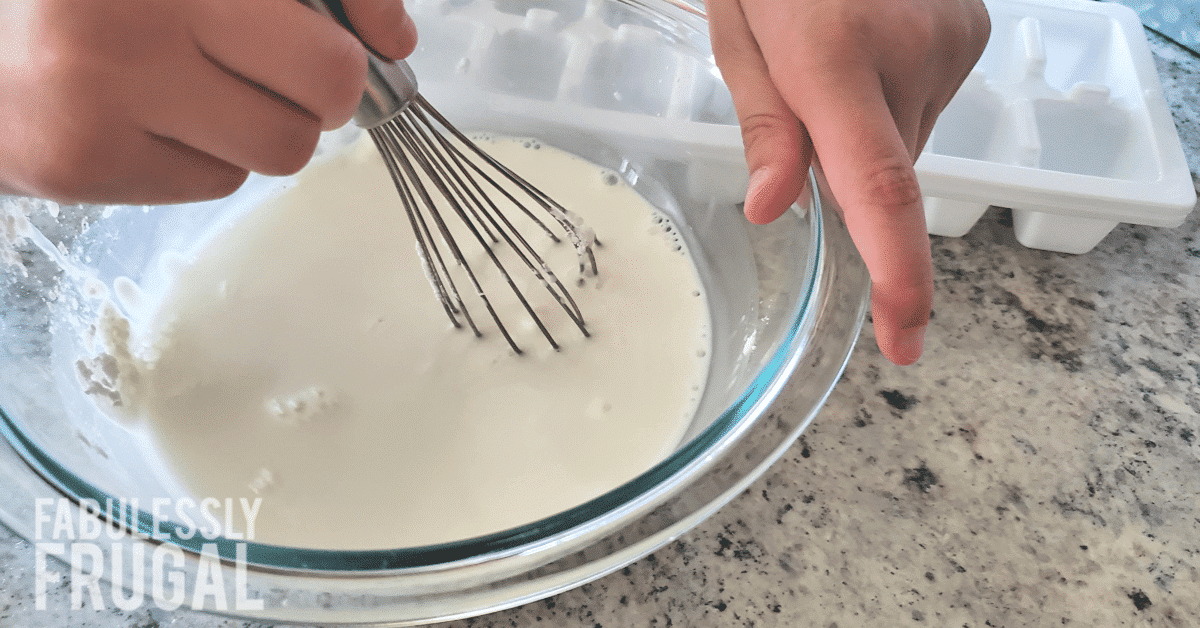
Step 1. Mixing the Corn Starch and Water
Mix the corn starch and the cold water together until the corn starch is completely dissolved. This is going to be the base of your ice chalk. Super simple!
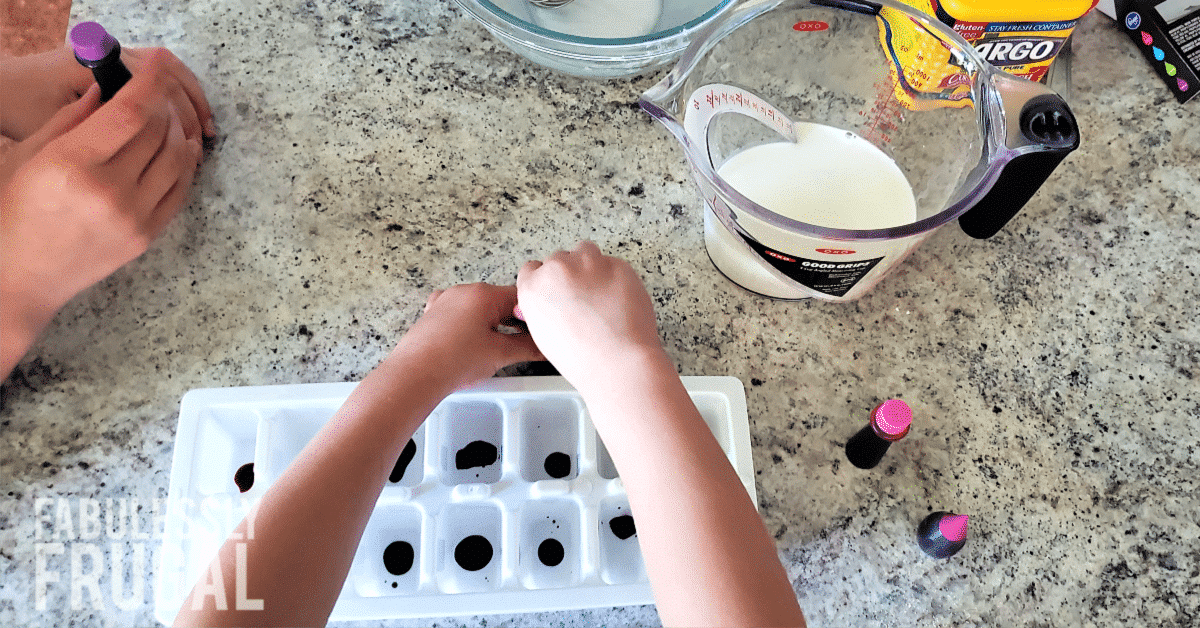
Step 2. Choose Your Colors
I added 3-4 drops of the food coloring (I used neon colors for more vibrant chalk) to each individual cube, but you could mix the coloring with the corn starch and water and then pour it into the trays too.
Note: If you don’t have food coloring on hand, you can also try using washable paint, Liquid Watercolors or kool-aid.
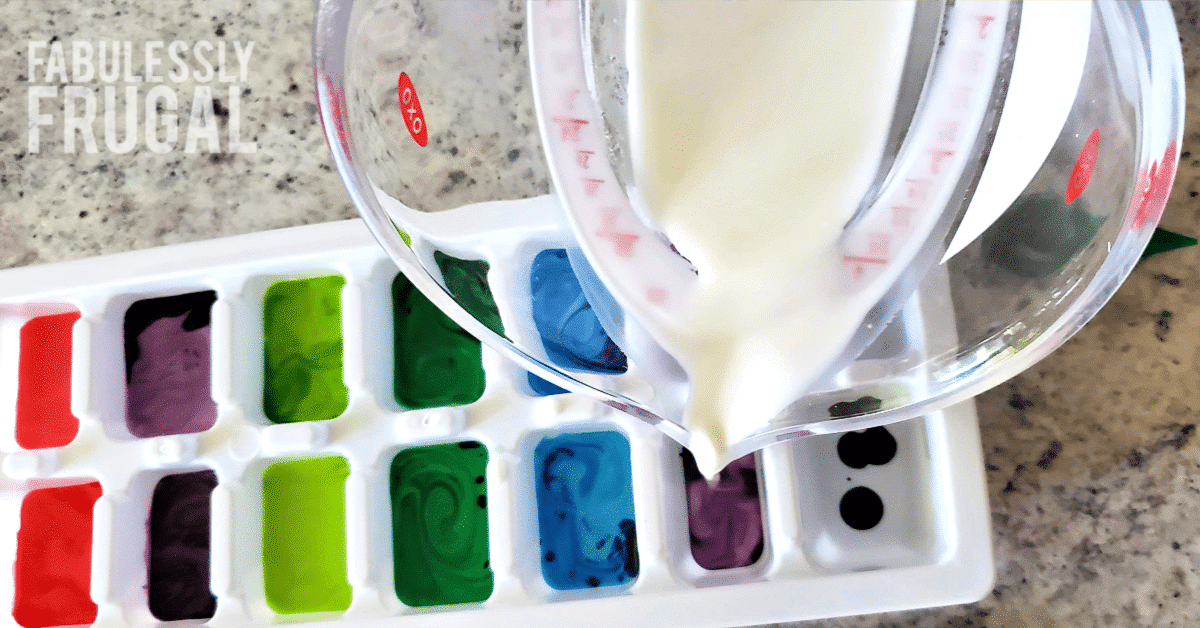
Step 3. Pour the Mixture Into the Tray
Once you’ve filled each cube area with your desired color, pour the cornstarch/water mixture into each cube area. You’ll want to fill each one about 80% full. You should be able to make about 14 cubes with this recipe.
Tip: Put the mixture into a measuring cup first to make it easier to pour.
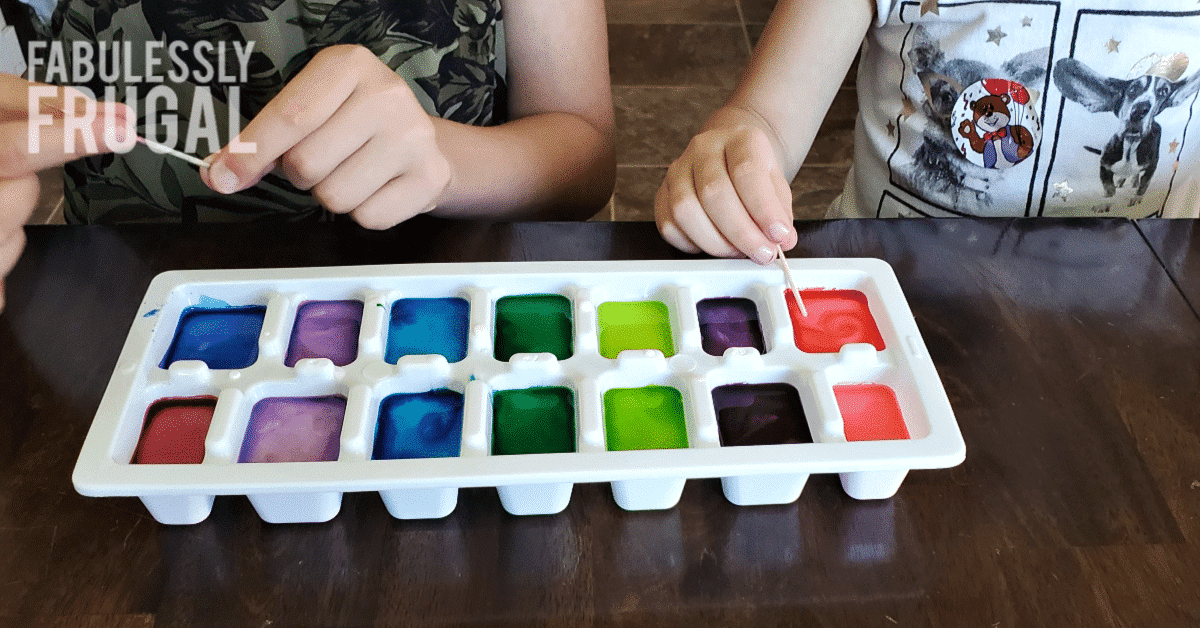
Step 4. Stir and Freeze
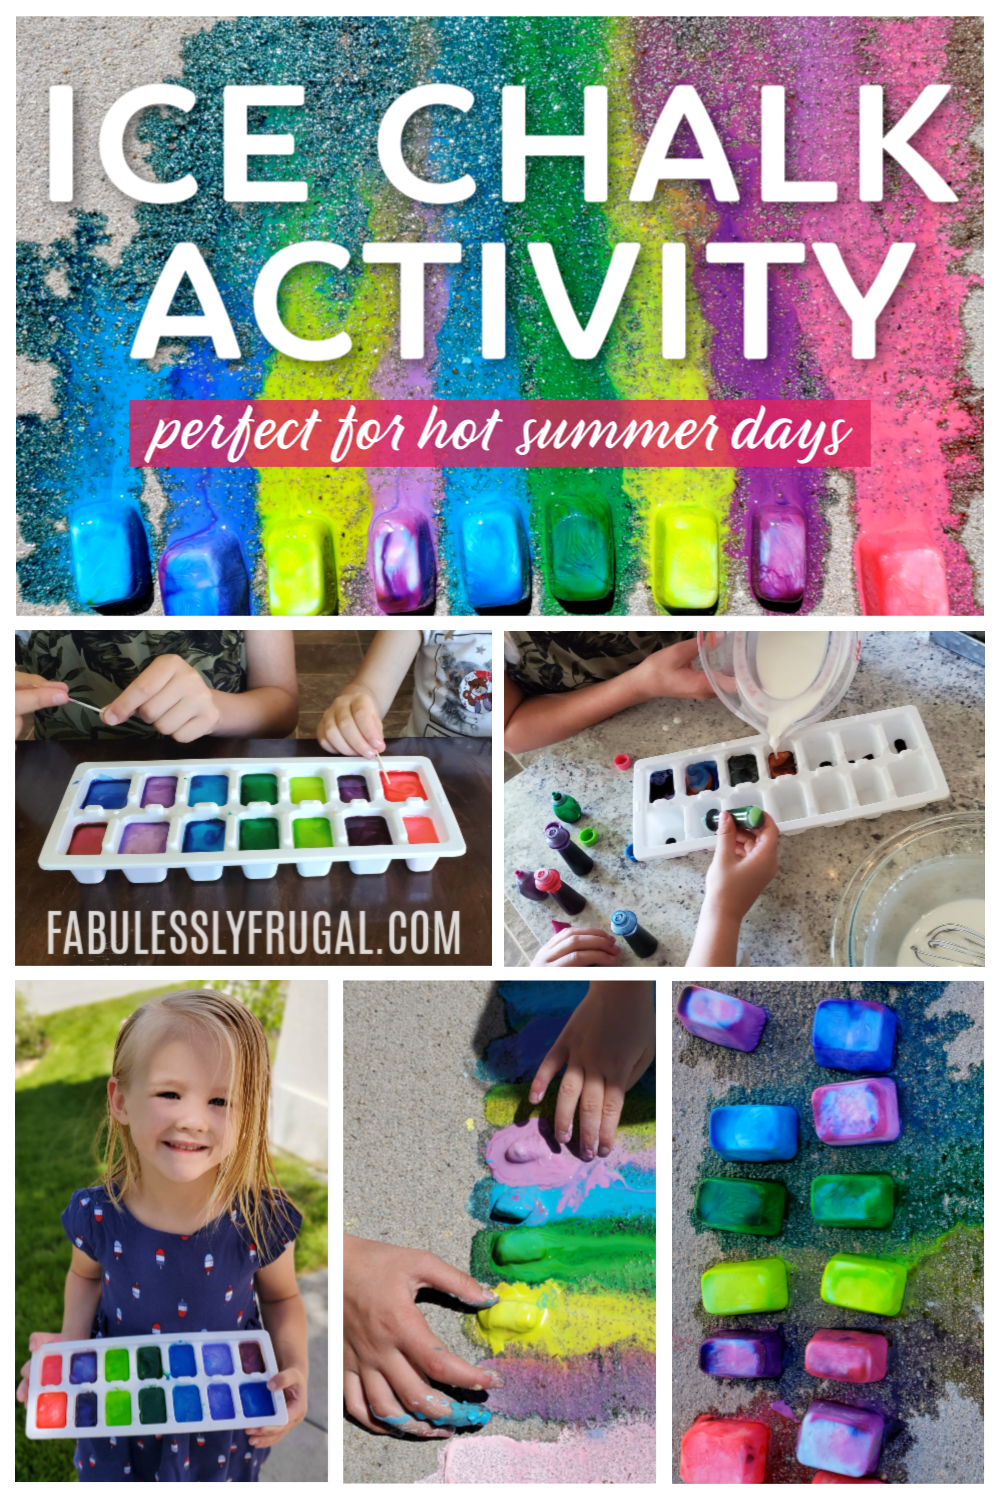
All that’s left to do now is to stir up the colors with a toothpick and stick the tray in the freezer! As mentioned above, it should take about 2.5-3 hours for the ice chalk to be ready.
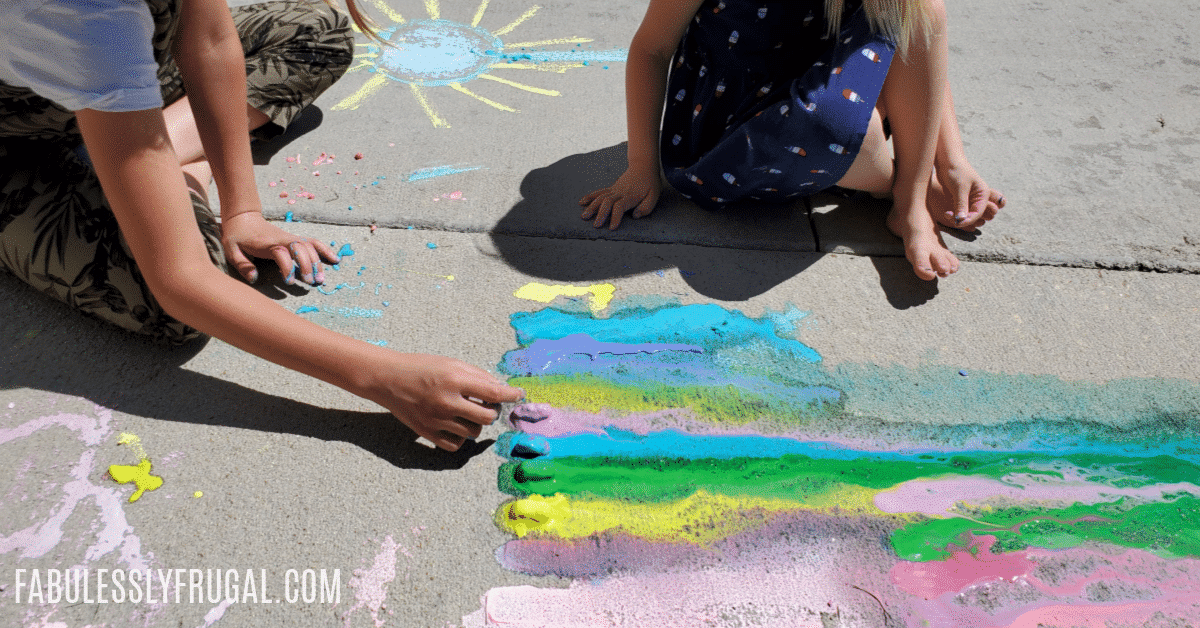
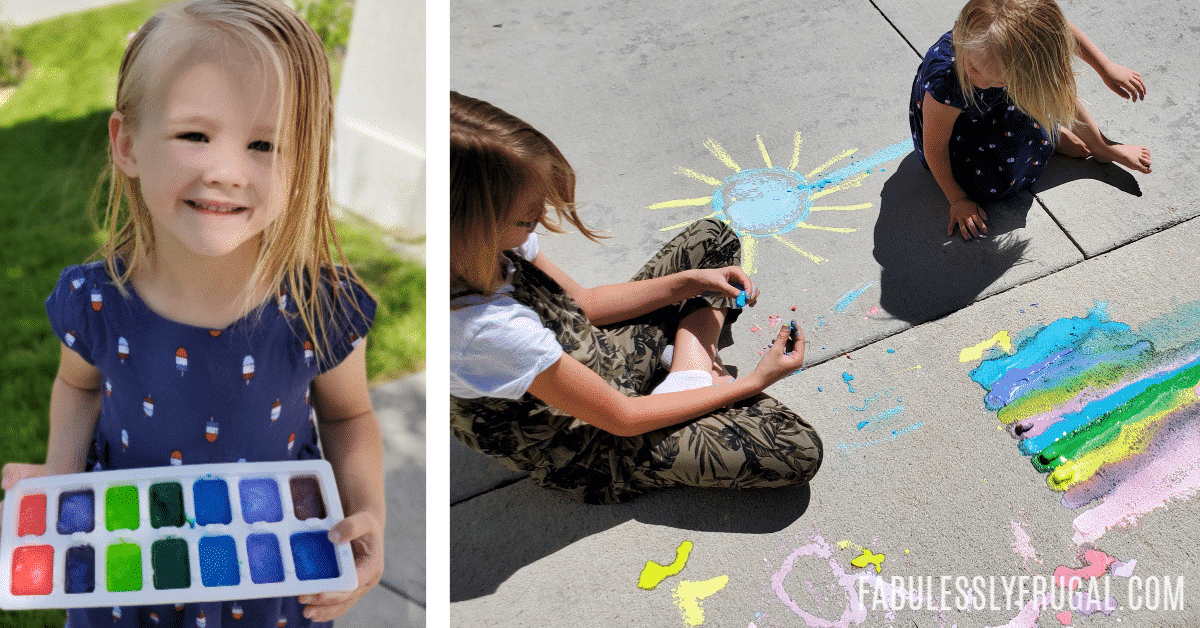
Playing with the Ice Chalk
Vibrant colors, state changes, and cool sensory benefits from this fun DIY activity for kids! It’s PERFECT for a hot summer day! Note, that it is a little messy once everything starts melting. But a TON of fun… for moms too! 🙂
You can turn this into a fantastic learning activity for your kids as you talk about what makes the ice freeze and what makes it melt. Or maybe even talk about how you get the colors and how the colors stay on the pavement.
You could also show them how mixing different colors together makes new colors. So many learning and artistic opportunities from time spent playing on the pavement!
The Color is Amazing!
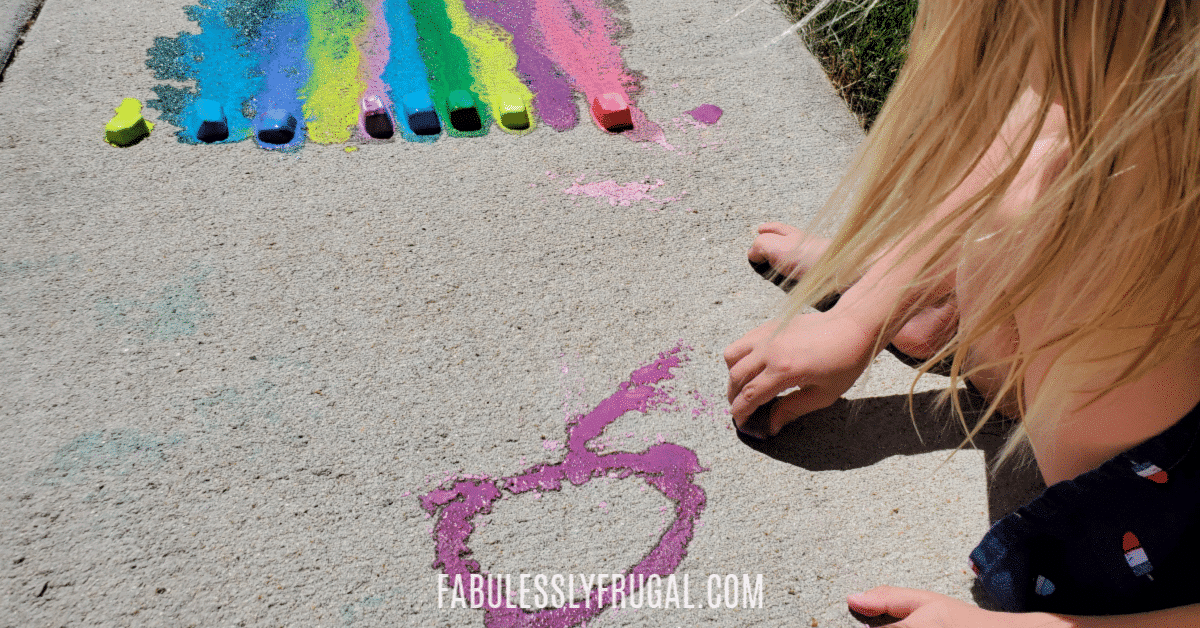
The girls had a blast playing with this ice chalk! And the extra super fun surprise was that as it started to melt, it worked like oobleck! Which made it even MORE fun!
The colors become more vibrant as the chalk dries too. At first, it might look like wet cement or asphalt but they will brighten up very quickly!
My kids actually prefer this kind of “chalk” because of the vibrancy. They will be able to see their creations MUCH better and I honestly think it looks cuter!!
One other thing that I love is that they don’t cover their clothes in CHALK! Every time my kids play with chalk it gets dusty flakes all over their clothes, but this way, it’s just water! I always keep an old washcloth outside with them so they can wipe their hands off as they go!
Final Thoughts
This is such a fun summer activity that is perfect for kids of all ages. It is easy to make and it cleans up nicely and washes right off the pavement (at least it did for me).
Plus, it’s something new for the kids to do on a long hot summer day. I am such an advocate for making sure that kids are ACTIVE all summer long. It is SO easy for them just to sit inside all day on the iPad, but what is that doing for them? Absolutely nothing!
Make sure they are getting outside, using their imagination, and interacting with others! That will make their summer worthwhile and it will keep your home happy! Trust me!
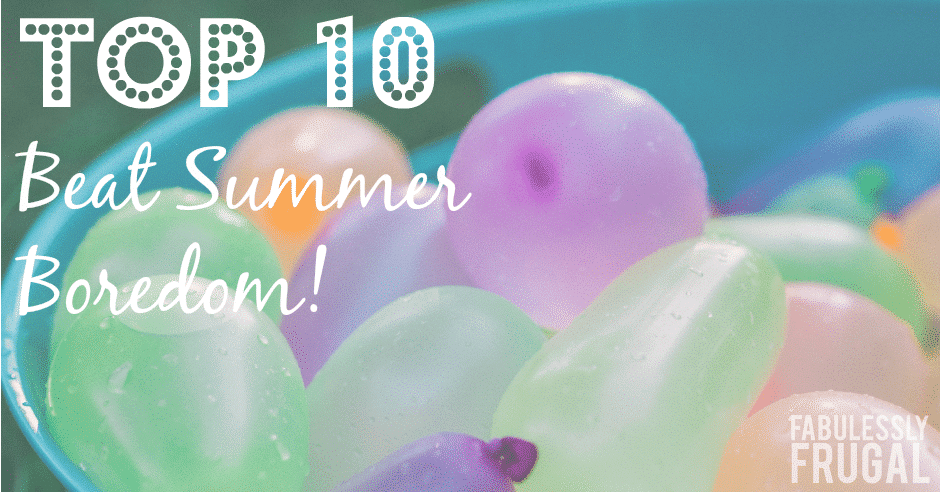
Check out more of my favorite summer activities!
Bust Summer Boredom Before It Starts
Bodacious Summer Planning Guide
15 Super Fun Pool Noodle Games for Kids
16 Games and Activities When You Are Camping with Kids
DIY Ice Chalk for Hours of Summer Fun

Ingredients
- 1 cup corn starch
- 1 cup cold water
- Food Coloring
- ice cube tray , Popsicle molds, or shaped ice molds
Instructions
- In a bowl, combine the corn starch and cold water.
- Mix until the corn starch has dissolved.
- In an empty ice cube tray, put a few drops of food coloring in each cube. Have fun making different color combinations!
- Pour the corn starch/water mixture into a measuring cup so it's easy to pour into the ice cube tray.
- Fill the cubes about 80% full. The mixture will make enough to fill one ice cube tray of 14 cubes.
- Use a toothpick to stir the color up if desired.
- Place ice cube tray in freezer for approximately 3 hours (times will vary).
- Pop the cubes out and color sidewalks for some awesome summer fun!
More Related Diys


Trending DIY Projects
- DIY
- Recipes
- Deals
- Blog


Report a Problem
Please select the problem you are facing with this deal:
- Price Increased
- Price Decreased
- No longer available
- Expired
- Link doesn't work
- Suggestion
- Compliment
- Other
Add more details:
Thank you for your feedback. We really appreciate it.
Enter your email address if you would like to receive a follow up.
Please Try Again
Thanks for providing the email address.
We will reach out to you as soon as possible.


Popular
Recommended
About Us

At Fabulessly Frugal, our goal is to help you live HEALTHY, WEALTHY, and WISE! My team and I work hard to bring you the best, online deals, clean eating, DIY's, freezer meal recipes, and more! I LOVE coaching and inspiring people to improve their health in my fitness challenge! You should also check out my favorite cleanse! Learn more about me and the rest of my team.


Copyright © 2008–2024
Fabulessly Frugal: A Coupon Blog Sharing Gift Ideas, Amazon Deals, Printable Coupons, DIY, How to Extreme Coupon, and Make Ahead Meals. All rights reserved