
Giving Plate DIY
How to Make a Giving Plate
I made a DIY Christmas plate before trying out this giving plate idea and that was a huge success! This year I wanted to use up the extra plates I had but in a different fun way. What a better way than to use them as a DIY gift this holiday!
I had seen this plate idea floating around on Pinterest (oh the dreaded place that wastes our precious hours) but thought I was far from creative to pull it off. Boy was I wrong! It was so easy.
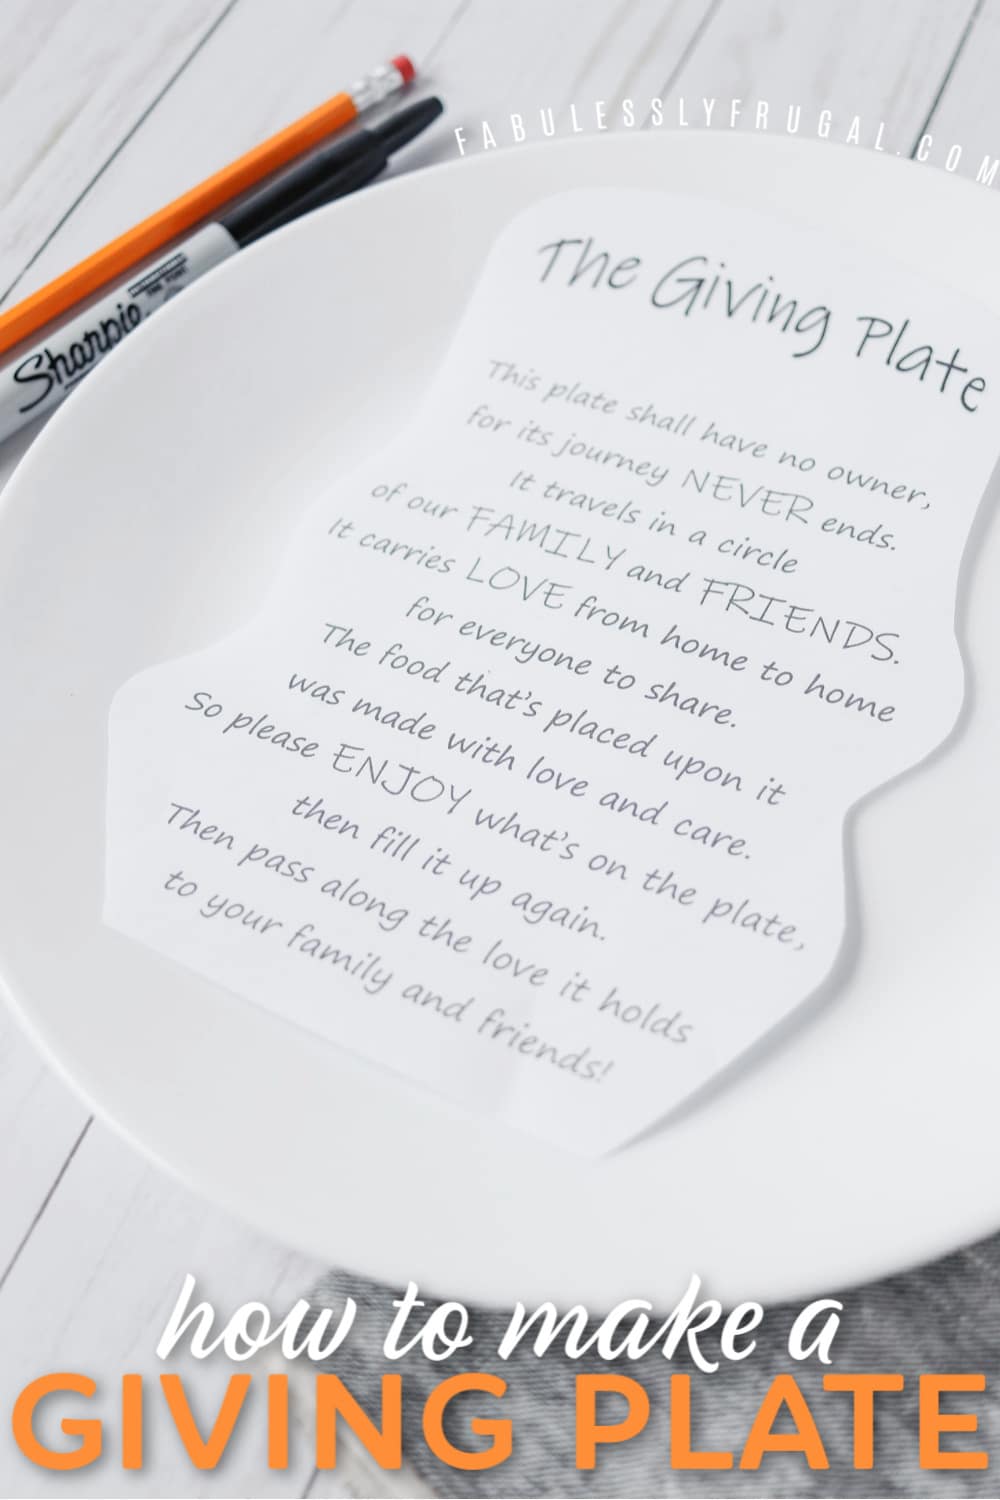
Here is what you will need:
- A plate (I picked them up at the dollar store)
- A sharpie
- What you want to say on the plate (You can download my template here)
- Tape and scissors
- Pencil
- Pencil sharpener (optional – helps with the steps below)
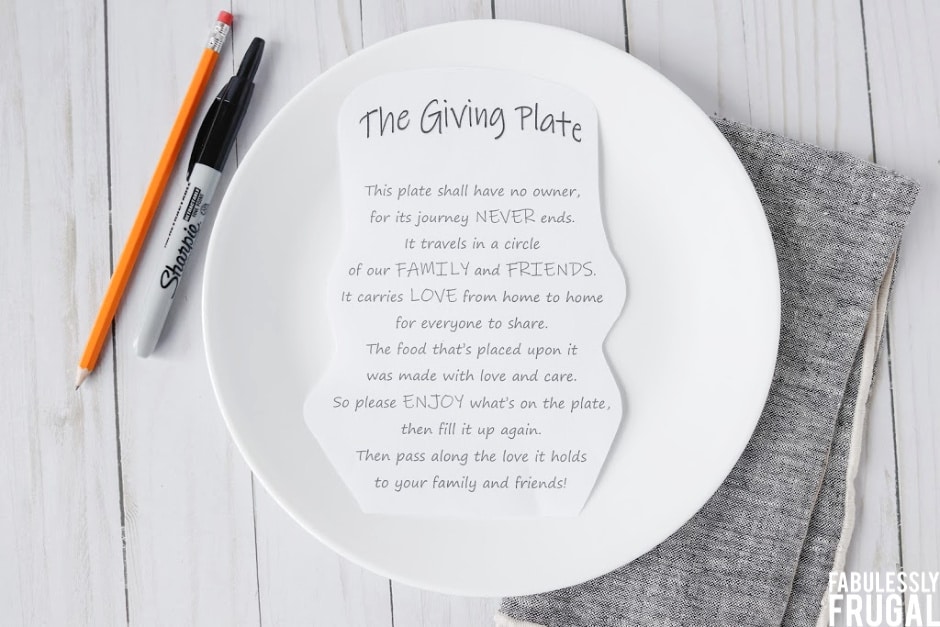
Step 1. Creating the Giving Plate Poem
I cannot for the life of me write in a straight line nor do I have good handwriting, so I went into Word and created the poem, and printed it out in a font that I liked. You can download my template here.
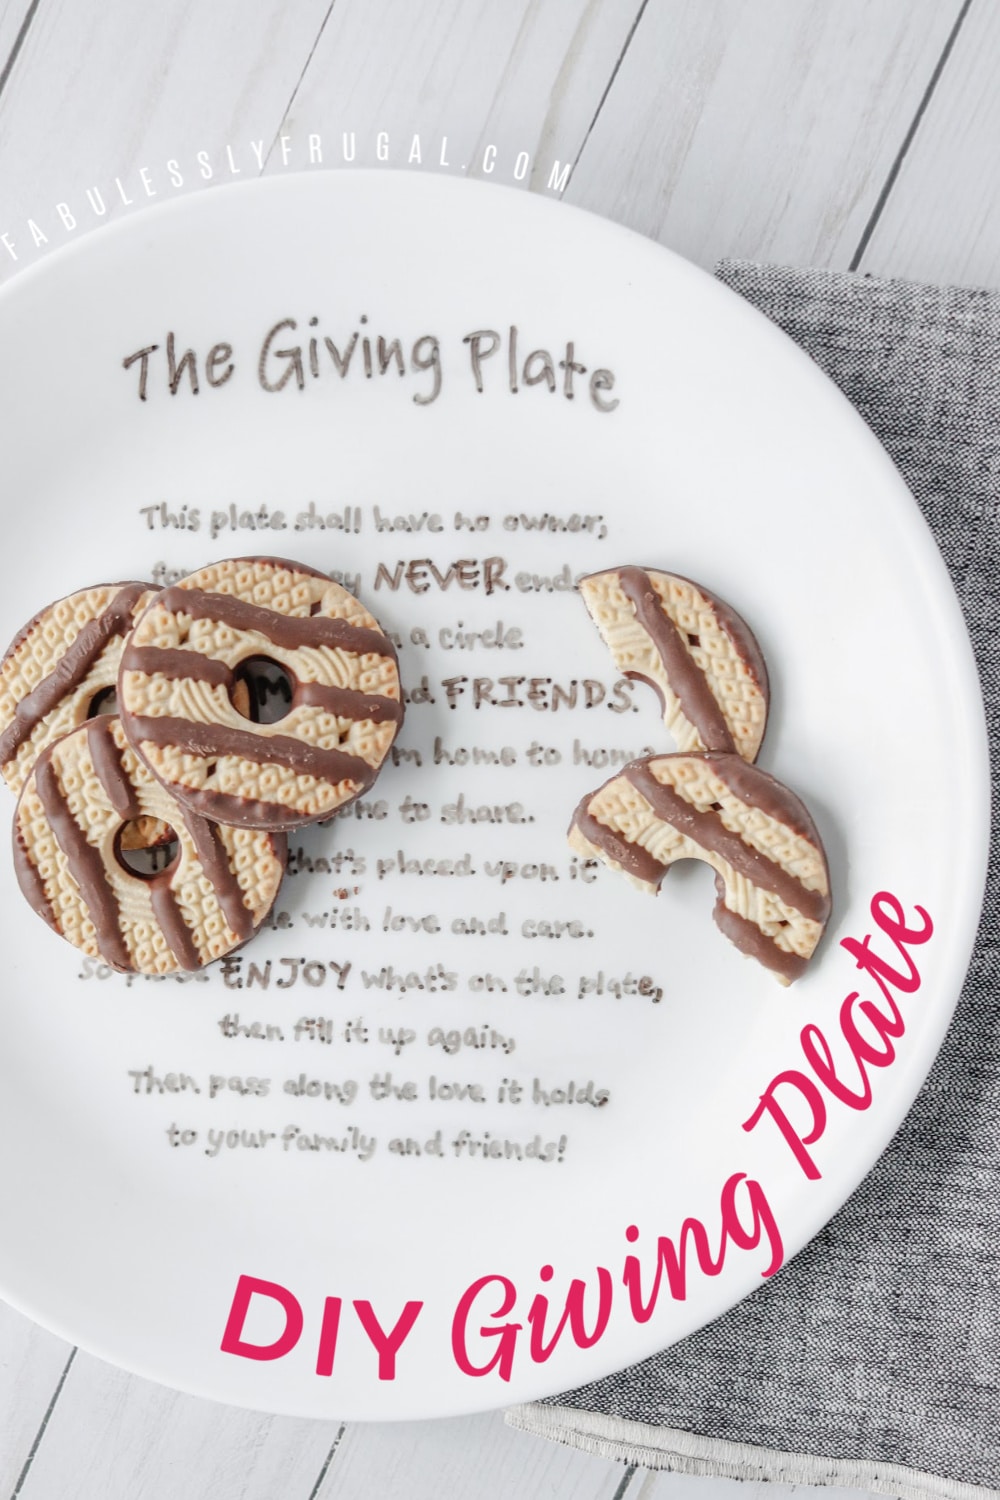
Here is the saying I used:
This plate shall have no owner
for its journey NEVER ends,
it travels in a circle
of our FAMILY and FRIENDS.
It carries LOVE from home to home
For everyone to share,
The food that’s placed upon it
was made with love and care.
So please ENJOY what’s on the plate
Then fill it up again,
Then pass along the love it holds
to your family and friends!
If you decide to use your own poem or saying, just make sure to make the font a good size and be sure that everything is spaced nicely! You may have to experiment a bit to get it to fit your plate.
Once it’s finished, print it out and then cut off the extra paper. Flip the paper over and cover the words in pencil, like so:
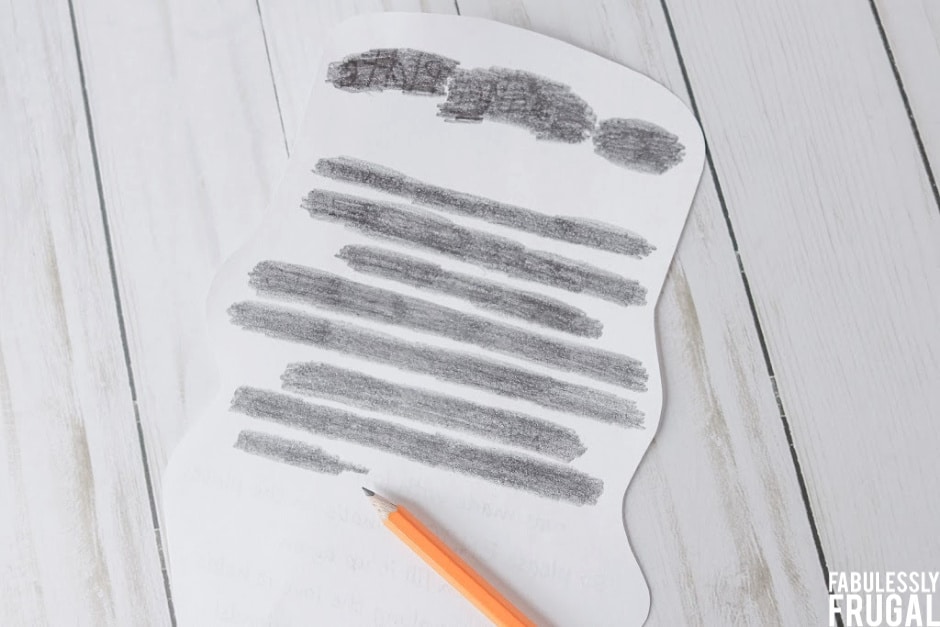
Tip: You can hold your picture up to a light/window to see if you are being effective in covering all the words in lead from the pencil.
Step 2. Positioning the Poem on the Plate
Now flip the paper back over and position it on the plate where you want it and secure with tape. Next is the part that really sucks!
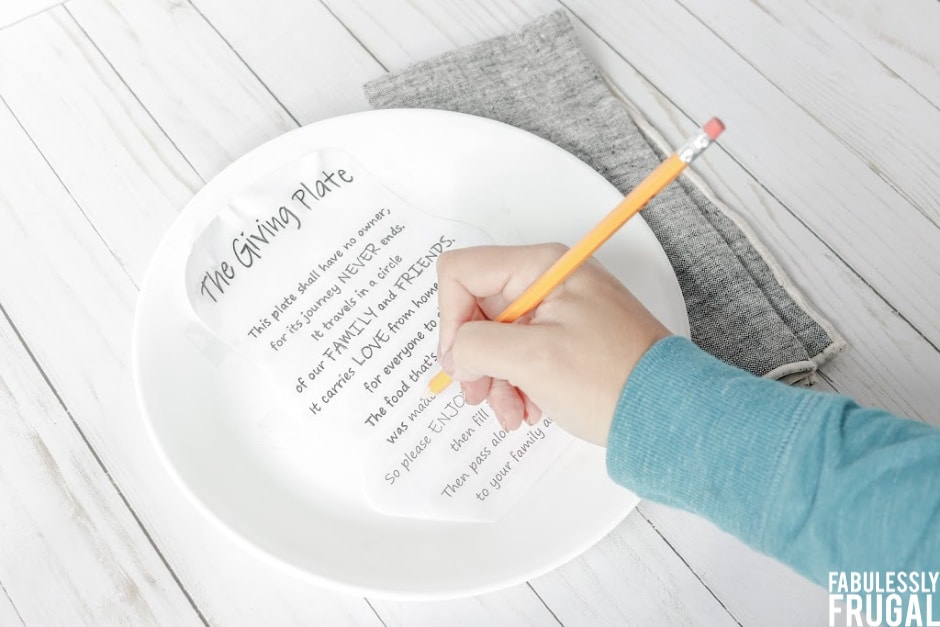
Step 3. Transferring the Poem to the Plate
Pushing as hard as you can, trace over the writing with your pencil. The lead that you put on the back will get transferred to the plate. If you don’t push hard enough/use enough lead the transfer won’t happen.
I tried using a sharpie to see if it helped and it didn’t. Here’s how it should look afterward:
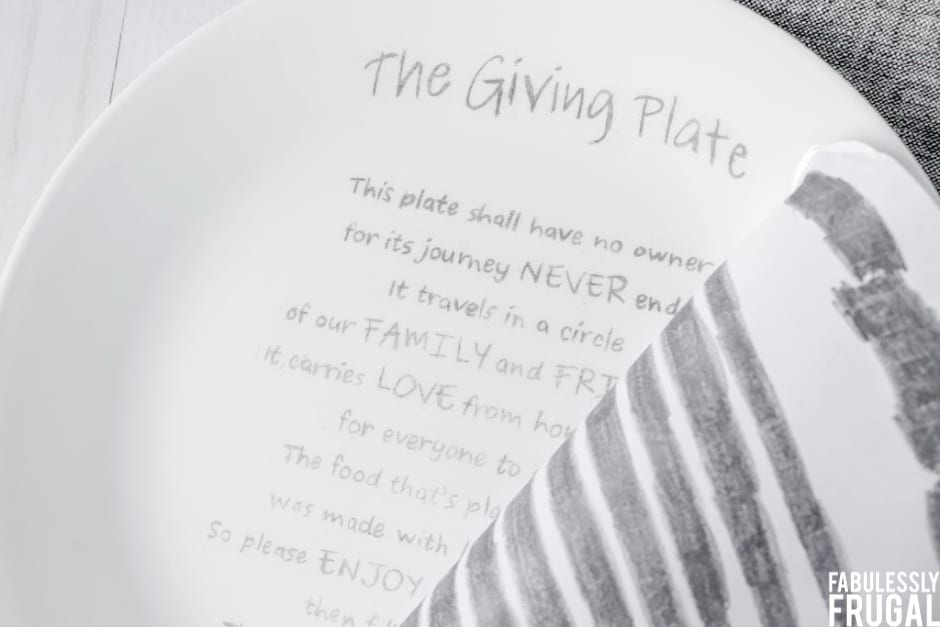
Can you see the faint pencil on the plate? If so then your muscles and hand are probably sore!
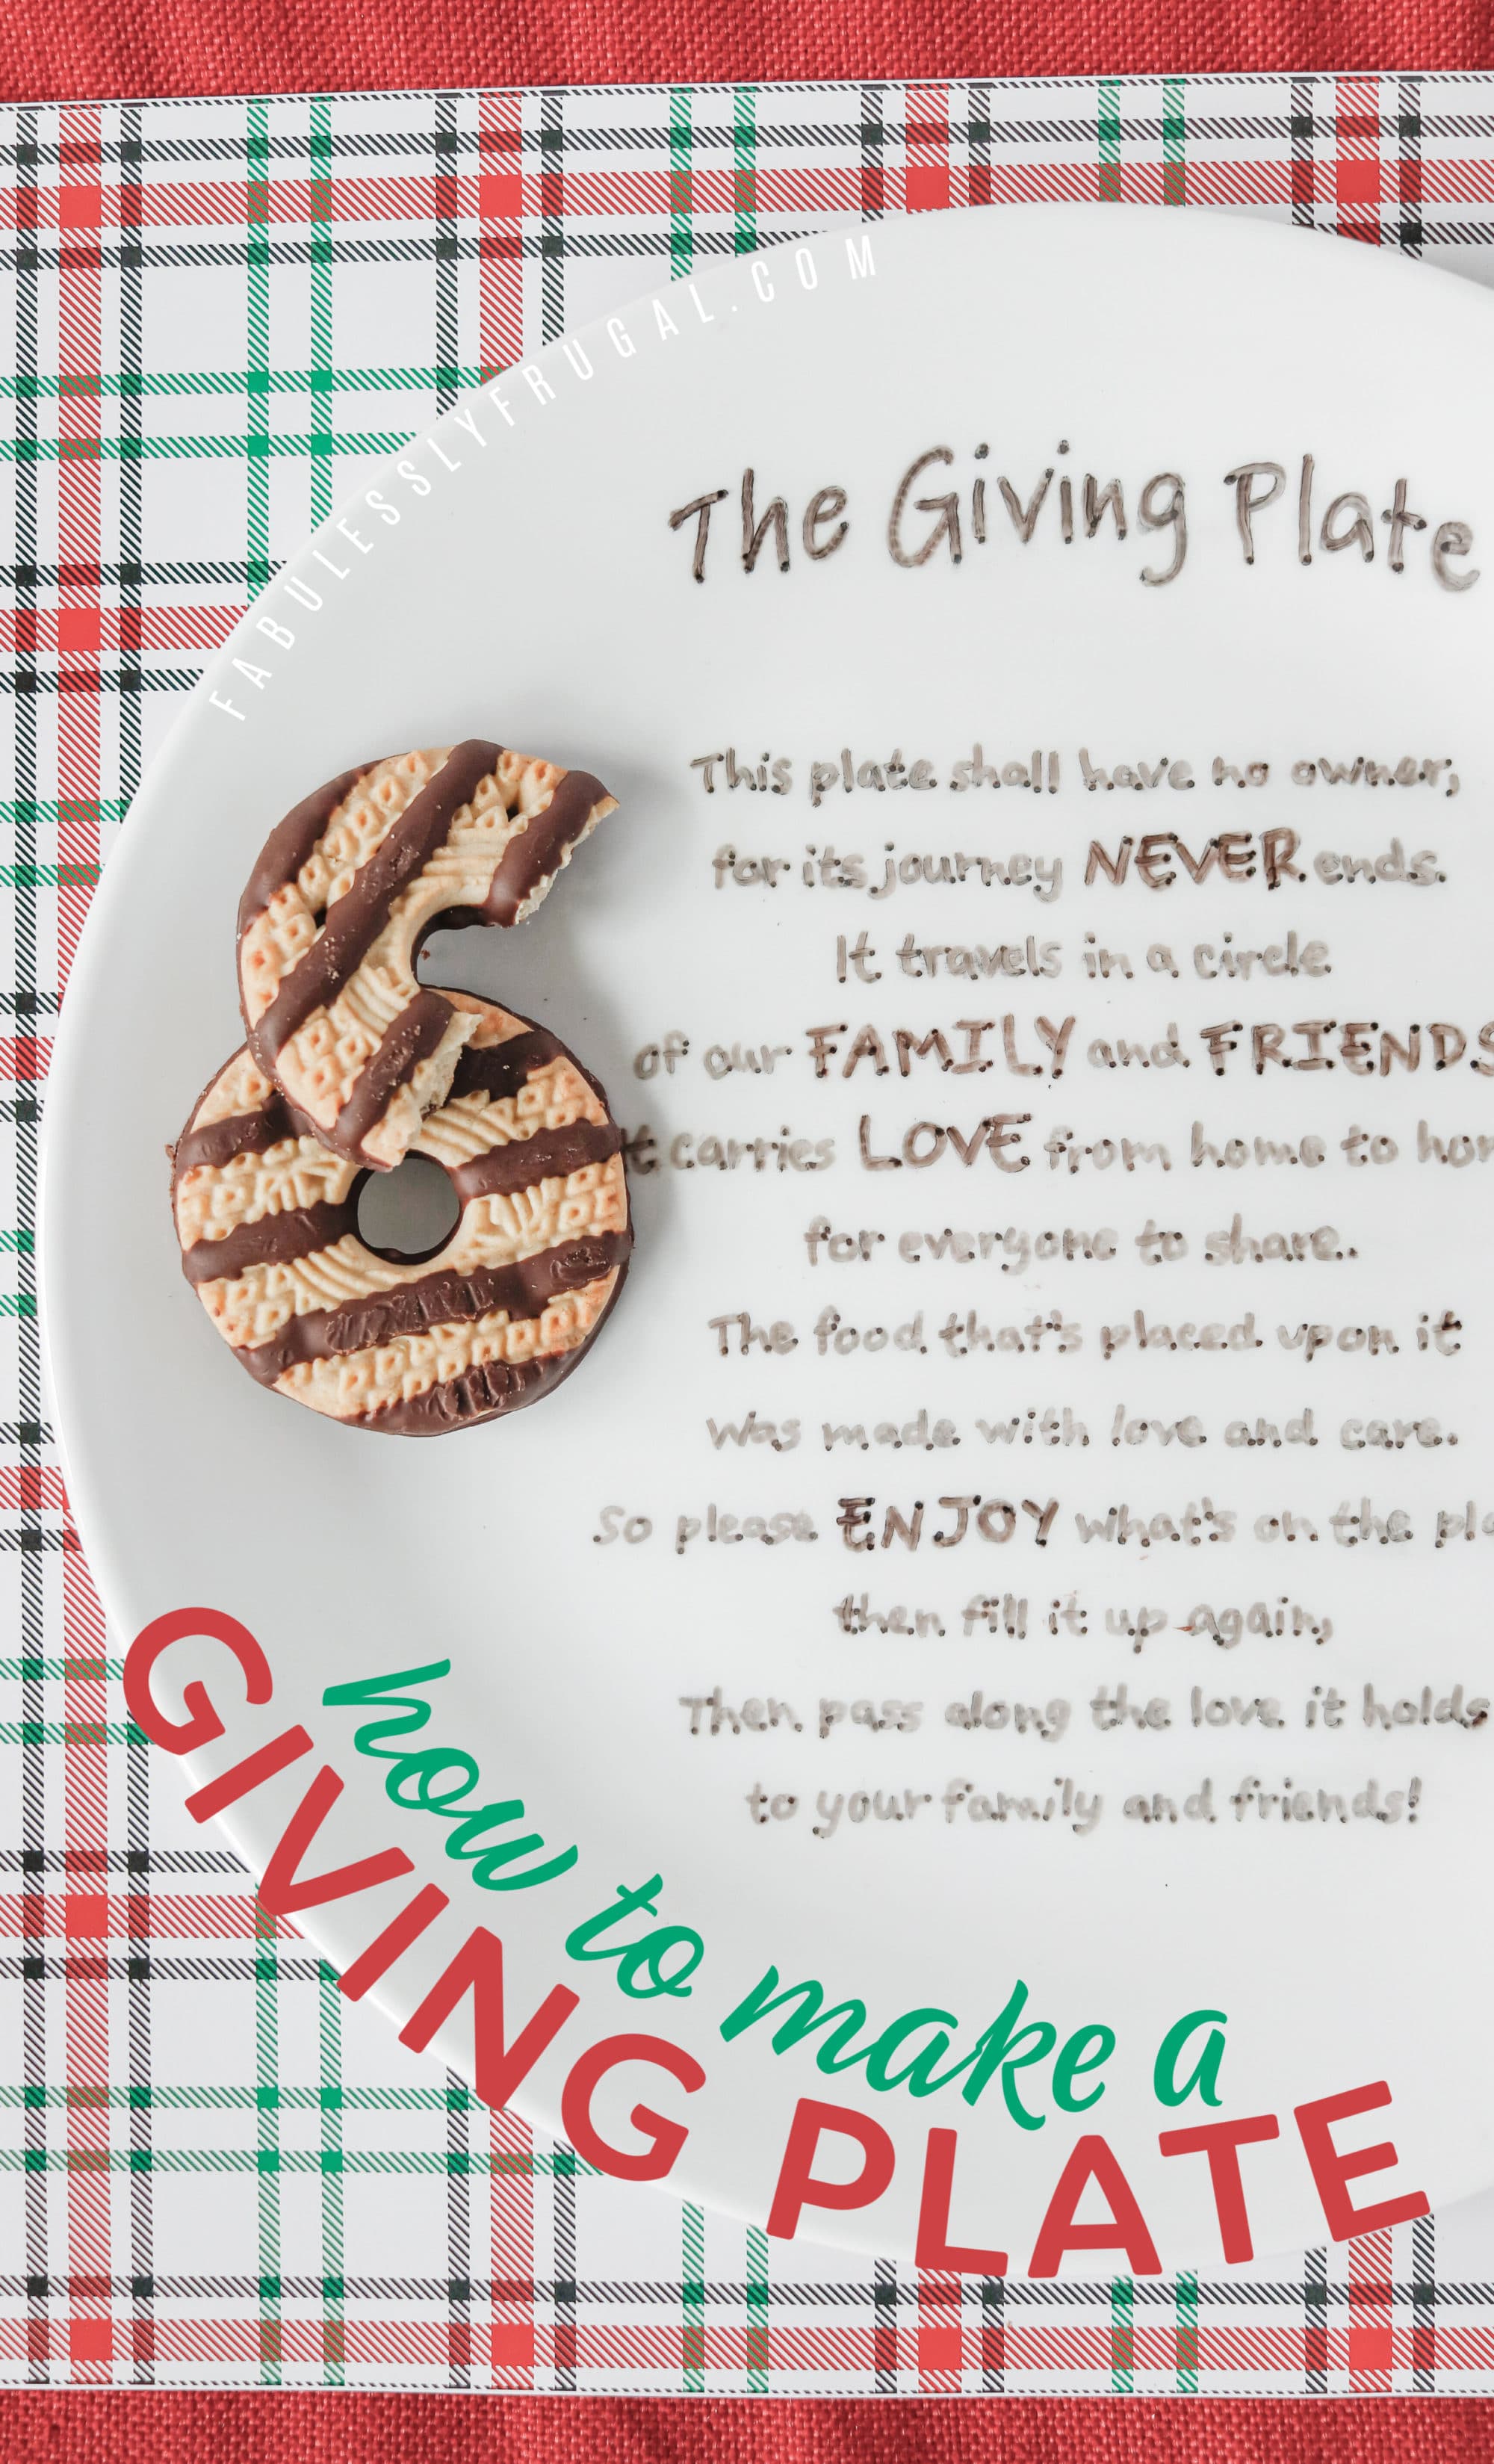
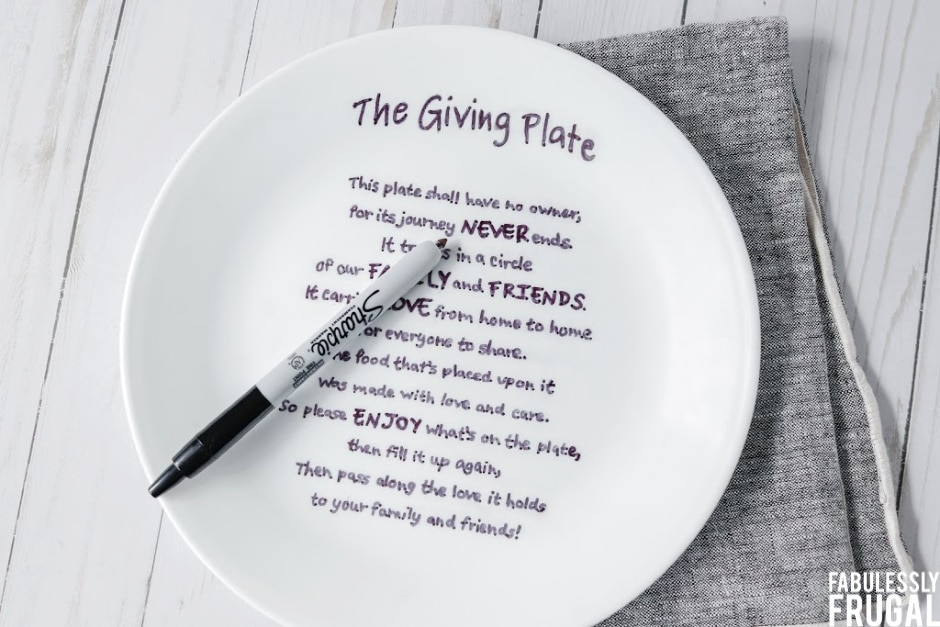
Step 4. Outline with Sharpie
Now just take your sharpie and go over the faint pencil on the plate. I started from the bottom because I didn’t know if the pencil would rub off as my hand went over it. The sharpie did not rub off on my hand (I used a fine Sharpie).
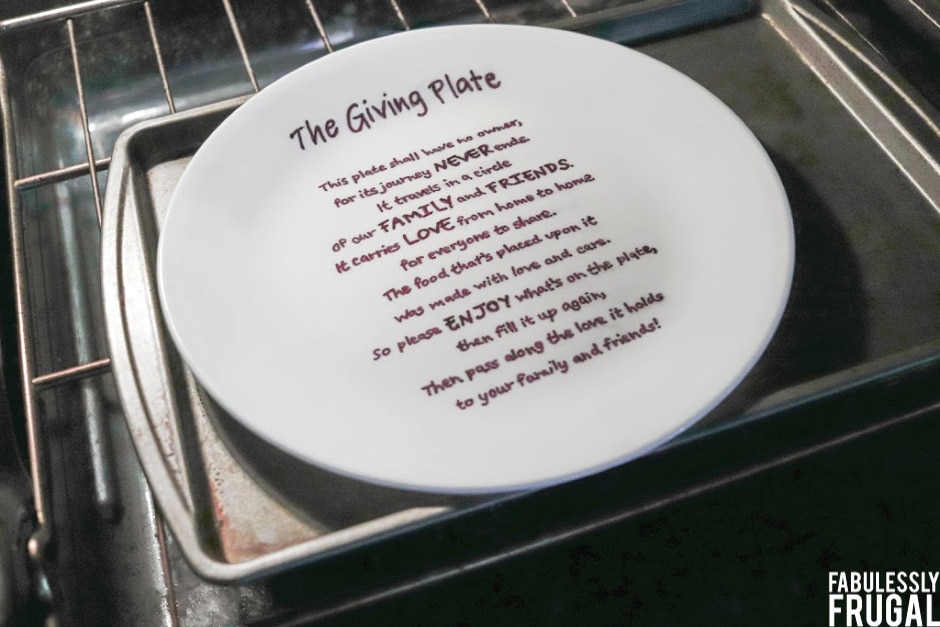
Step 5. Put It in the Oven
Once you have completed the tracing you need to fire it in your oven. Here are the directions:
- Put the plate in a cold oven.
- Heat it to 400
- Start the time once the oven reaches that temp
- Fire for 40 minutes
- After 40 minutes turn off the oven
LEAVE THE PLATE IN THE OVEN. DO NOT OPEN THE OVEN.
Let the oven cool completely before removing the plates. If the plates are cooled to fast they will crack. The firing should set the sharpie into the plate making it safe to add your goodies.
Note: In hindsight, I would’ve gone over the writing a second time in Sharpie to make it bolder. It faded after baking. I did go over the capitalized words a second time to make them stand out more. So I would’ve done all the writing a 2nd time and the capitalized words a 3rd time.
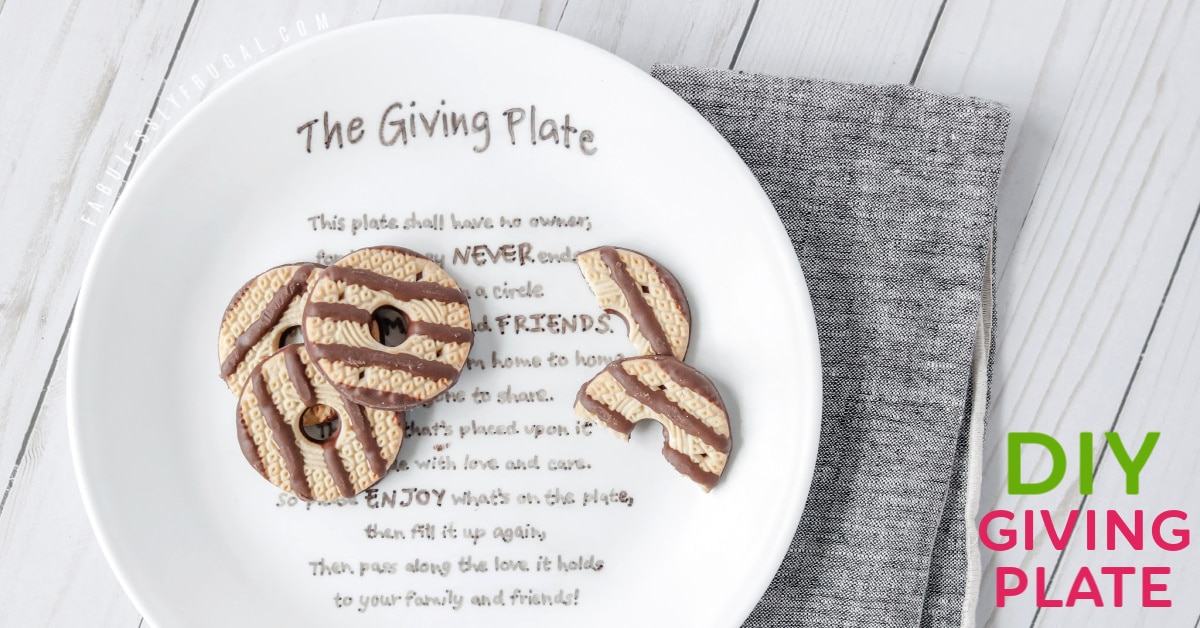
Step 6. Add Goodies!
Bake up some goodies or buy store-bought and deliver your plate. Here are some treat recipe ideas:
- Soft Pumpkin Gingersnap Cookies
- Amazing Frosted Sugar Cookie Bars Recipe
- The Best Chocolate Cookies Recipe Ever
- Easy Blackberry Pie Bars Recipe
- Lemon Cream Cheese Cookies Recipe (Soft & Light)
Final Thoughts
A fun idea would be to add the name and date on the back of the plate to keep track of where it has been. A traveling plate.
Let us know what you plan on doing with your giving plate! If you have any questions, feel free to ask below as well!
Comments
Leave a Reply
More Related Diys


Trending DIY Projects
- DIY
- Recipes
- Deals
- Blog


Report a Problem
Please select the problem you are facing with this deal:
- Price Increased
- Price Decreased
- No longer available
- Expired
- Link doesn't work
- Suggestion
- Compliment
- Other
Add more details:
Thank you for your feedback. We really appreciate it.
Enter your email address if you would like to receive a follow up.
Please Try Again
Thanks for providing the email address.
We will reach out to you as soon as possible.


Popular
Recommended
About Us

At Fabulessly Frugal, our goal is to help you live HEALTHY, WEALTHY, and WISE! My team and I work hard to bring you the best, online deals, clean eating, DIY's, freezer meal recipes, and more! I LOVE coaching and inspiring people to improve their health in my fitness challenge! You should also check out my favorite cleanse! Learn more about me and the rest of my team.


Copyright © 2008–2024
Fabulessly Frugal: A Coupon Blog Sharing Gift Ideas, Amazon Deals, Printable Coupons, DIY, How to Extreme Coupon, and Make Ahead Meals. All rights reserved
Fantastic Idea!! What font did you use? LOVE IT!!
Very cute and seems doable thank you 🙂
It truly is! Let us know if you get the chance to do it!
I have tried making these several times. Each time the marker comes off way too easily. Is this something you have encountered? I know you can’t aggressively wash them but even to the touch it would rub off?
what kind of climate do you live in? I live in a very dry climate, but I have heard that this DIY is a little tricky if you live in a humid area!
Use an oil based sharpie.
Great tips, thanks!
Hi, I was curious how many did you put in the oven at once and did you put them on different racks, like 2 each rack etc? I have 15 I need to make by Saturday lol, so trying to figure out time management on this 🙂
Yes you can do as many as will fit in your oven!
awesome, thank you so much for getting back to me 🙂
What font did you use?
This is a really old post… so not sure which font it was, but there are a TON of cute handwriting fonts here! https://kevinandamanda.com/fonts/fontsforpeas/
I have some pencil smears under the paint. Do I put the plate in the oven first and then clean it or do I try and clean it before I put it in the oven?
I would try and clean it before you put it in the oven!
About how long did they take to cool? Do you remember?
Does it ,after what kind of plate is used? Shiny vs matte? Dollar store vs IKEA? Etc.
Meant to type “matter”….not ‘,after’….
Tried this….my oil based sharpie faded and discoloured in the oven….any ideas?
What kind of sharpie are you using? I tried sharpies and painters pens and baked and it still comes right off – what am I doing wrong? Is it becuase I’m using an electric stove?
I just took one from the oven. Done with sharpie oil pen. This isn’t meant to be used so hopefully I’m good. My question is,, if you like to add to the dish, can you rebake?
**want to add to the dish
That shouldn’t be a problem!
I used a permanent sharpie and baked in an electric oven 375 for 30 minutes…I also used a picture once plate cooled and Mod Podge it for gloss
Wanted to send pictures but not too good with computers and Gravatar must work on postings….Actually this is my 2nd one from the 1st above..
I tried this a couple of years ago with sharpies and paint pens. None of them kept the design well. However when I used paints for glass it was fine. They work well and are properly baked on so do not come off when Washing.
I’d not put in a dishwasher particularly since it is a special item
I think I will put the title front top in bold and write the poem all around plate instead going around and around. Center blank for the food d!!!
LOVE this idea!
They now have a dishwasher safe Mod Podge. It is great. If you use too much, you see the streaks. I would also use a sponge brush so you don’t leave brush strokes.
Thanks for that info and the tip 🙂