Yarn Easter Eggs
We bought our first home last June, and since then (well, I guess after we were all moved in and settled), I have been busily making holiday decorations as well as home décor, as I finally have places to store decorations for all the holidays, and not just Christmas anymore. My kids look forward to the next holiday to come, not only for the holiday itself, but to decorate the house.
I have recently seen quite a few different posts for making these fun yarn eggs, and turning them into a cute holiday garland.  I remember making these way back in elementary school, but with sugar water…not something that you would really be able to store for years to come. After checking out multiple posts on Pinterest, and seeing how they made the eggs, I took a few ideas, and tried some different methods, before coming up with one way that worked the best.

MATERIALS NEEDED:
Yarn or Heavy String
Water Balloons
Modge Podge or Elmer’s Glue (turns out just plain old flour and water worked the best!)
Wax Paper
DIRECTIONS:
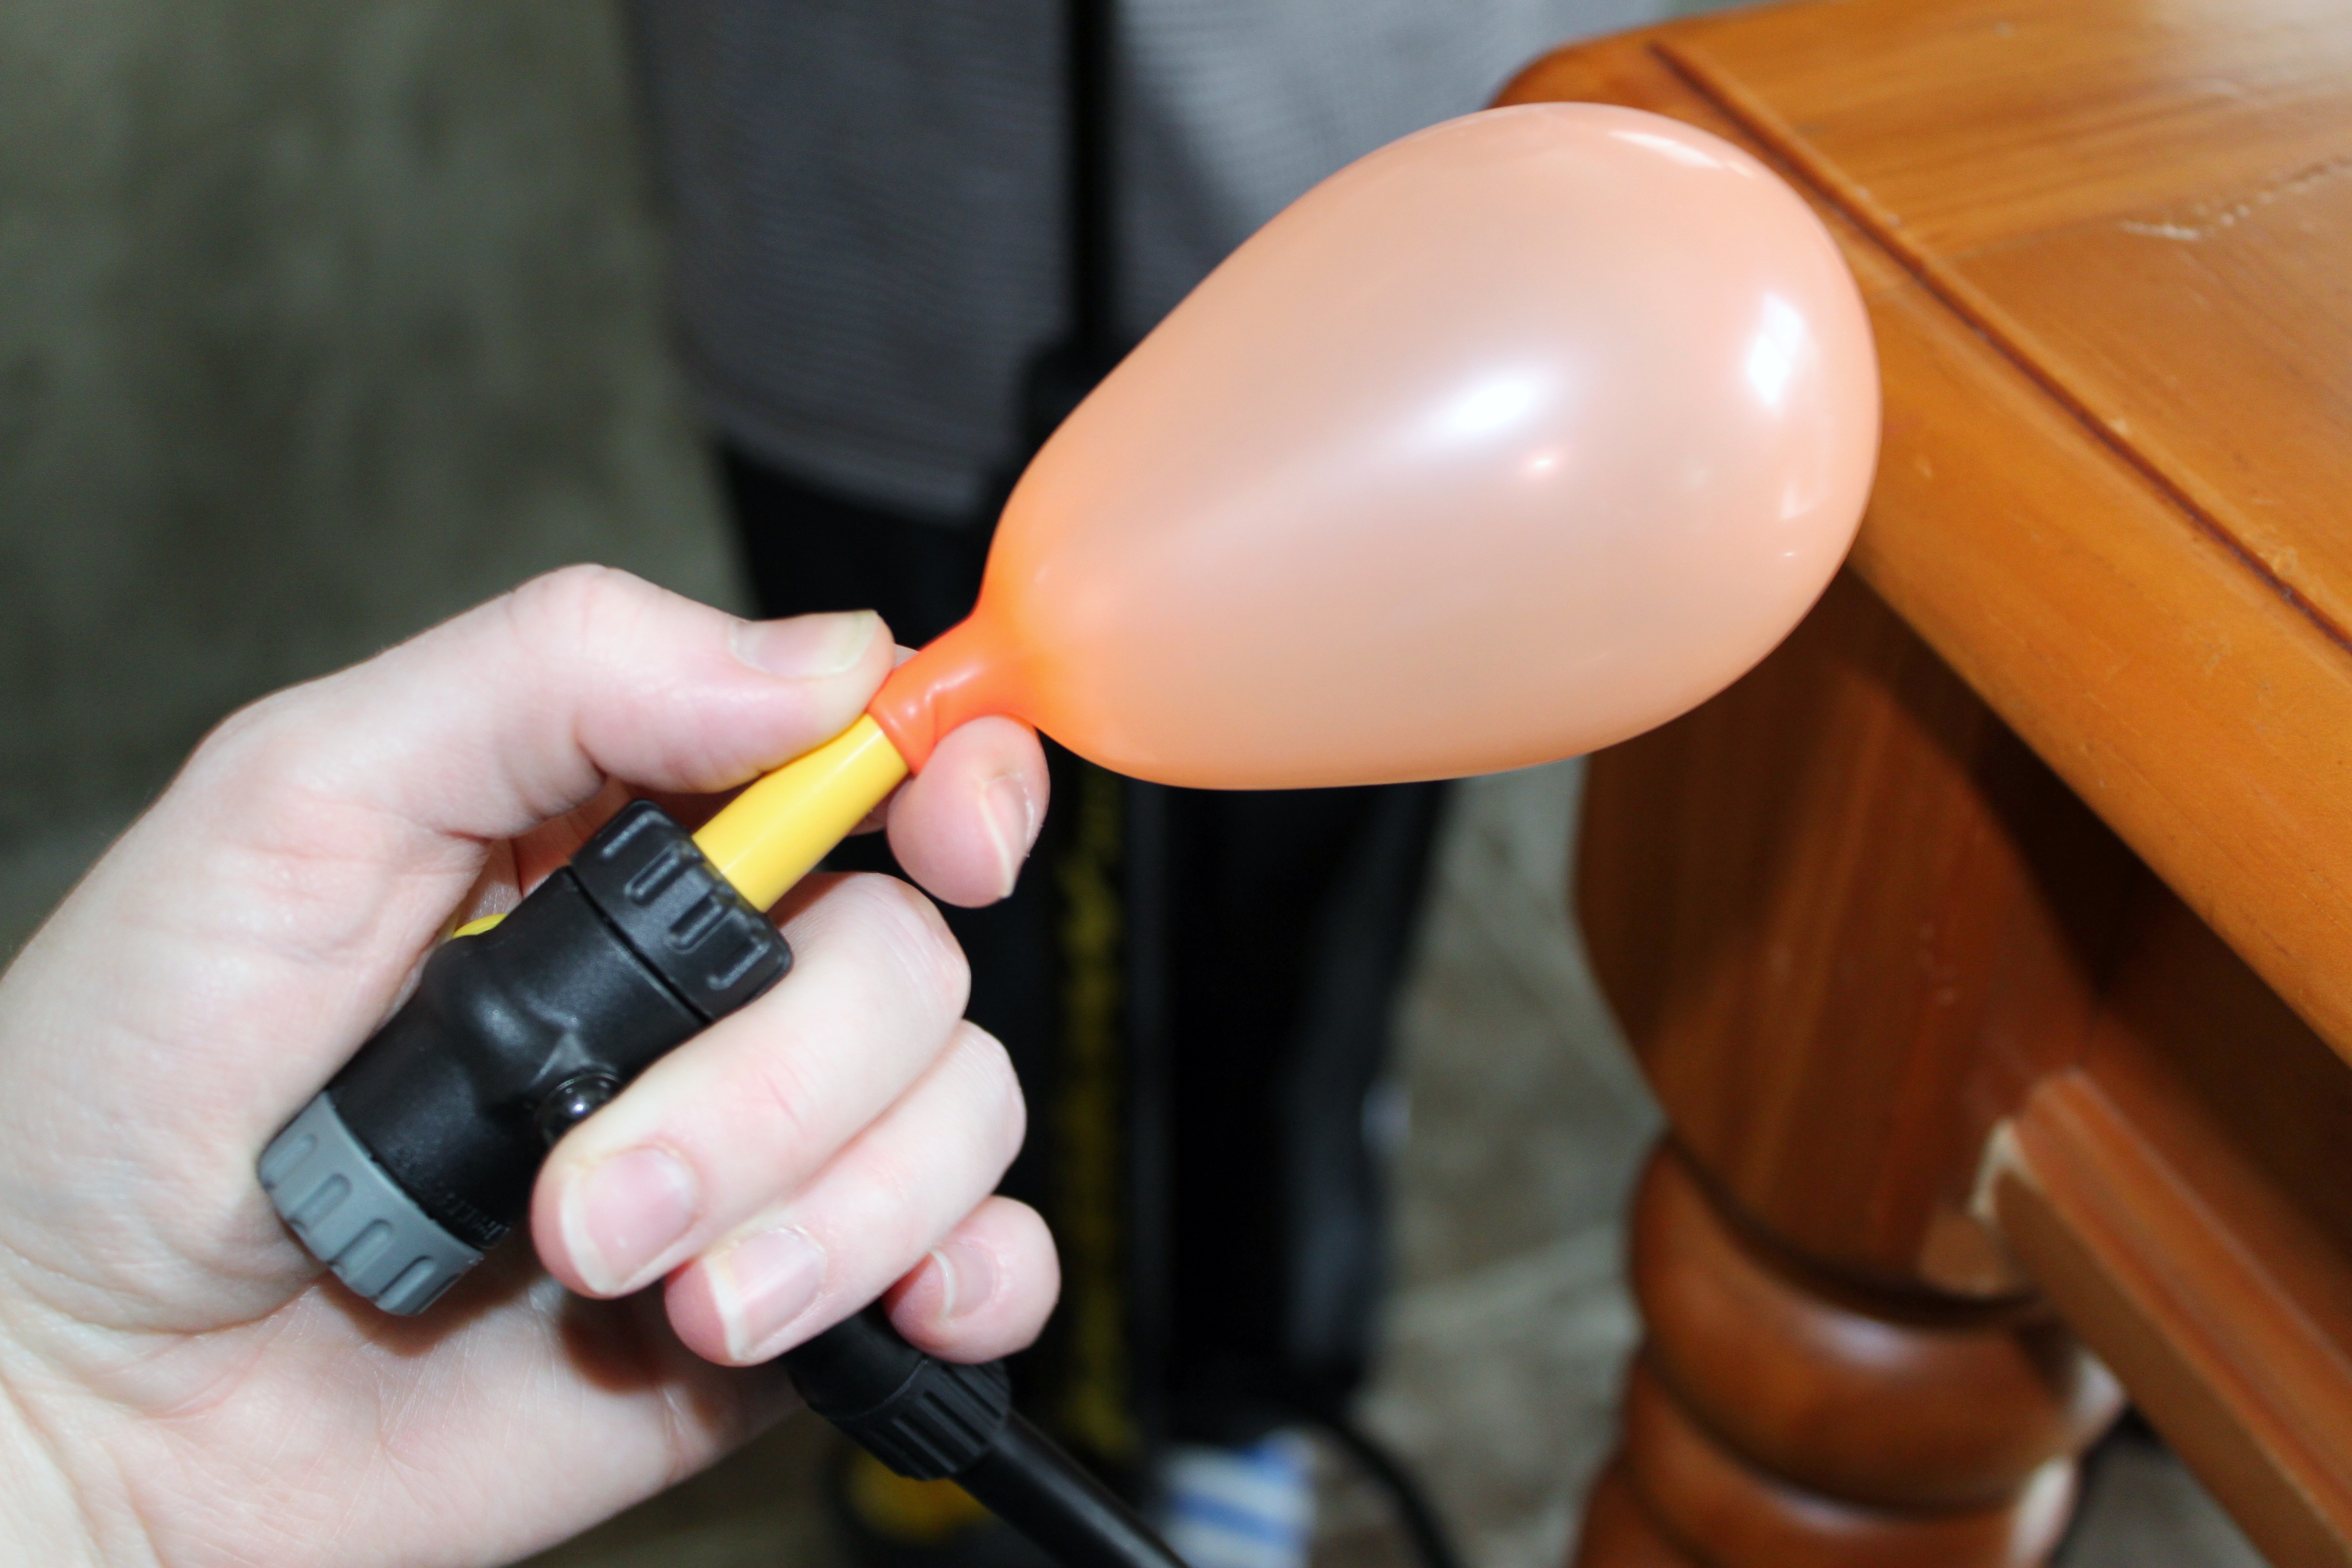
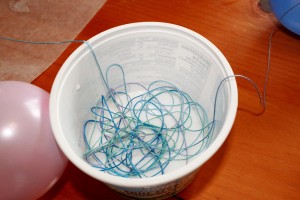
Lay out some wax paper on your work surface. Blow up your balloons, however many you want to do. I wanted 12-15, so I made a few more just in case they didn’t hold up. I enlisted my 4 year old to help blow up the balloons with the bike pump…much easier than trying to blow them up yourself!
Cut your string/yarn into 3-4 feet lengths. I found if they were much longer, they kept knotting up. Cut about 5-6 pieces per balloon, more or less depending on how you want them to look…kind of a personal preference. When you have all your string cut and balloons ready to go, prepare to get messy!
NOTE:
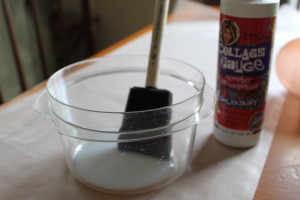
On some of the other posts I found on how to make these, one they used modge podge, and painted it on the balloon with a sponge brush before wrapping the string.Â
Another post said to mix Elmer’s glue with water, and dip the string in that before wrapping the balloon.Â
So we tried those 2 methods first, and found that only 2 of our 12 balloons actually held their form.Â
The yarn was glued to the balloon, so when you popped it, the eggs just deflated. Hmm…now what to do!Â

I wanted to try one more thing before I gave up on the project all together. I found a post that wanted to do it as inexpensive as possible, so they used a paper mache method of mixing flour and water together to work as the glue. I found that the flour and water mixture worked the best….when I did it with that, all 15 balloons that we did worked!! Hooray!
So, this is the way that actually worked…for me anyway!
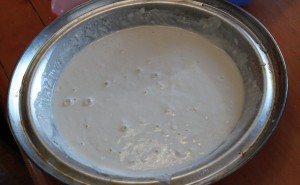
Mix together your flour and water, until fairly smooth.
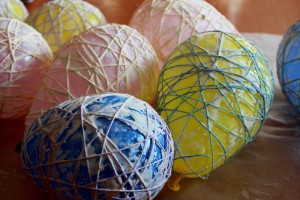
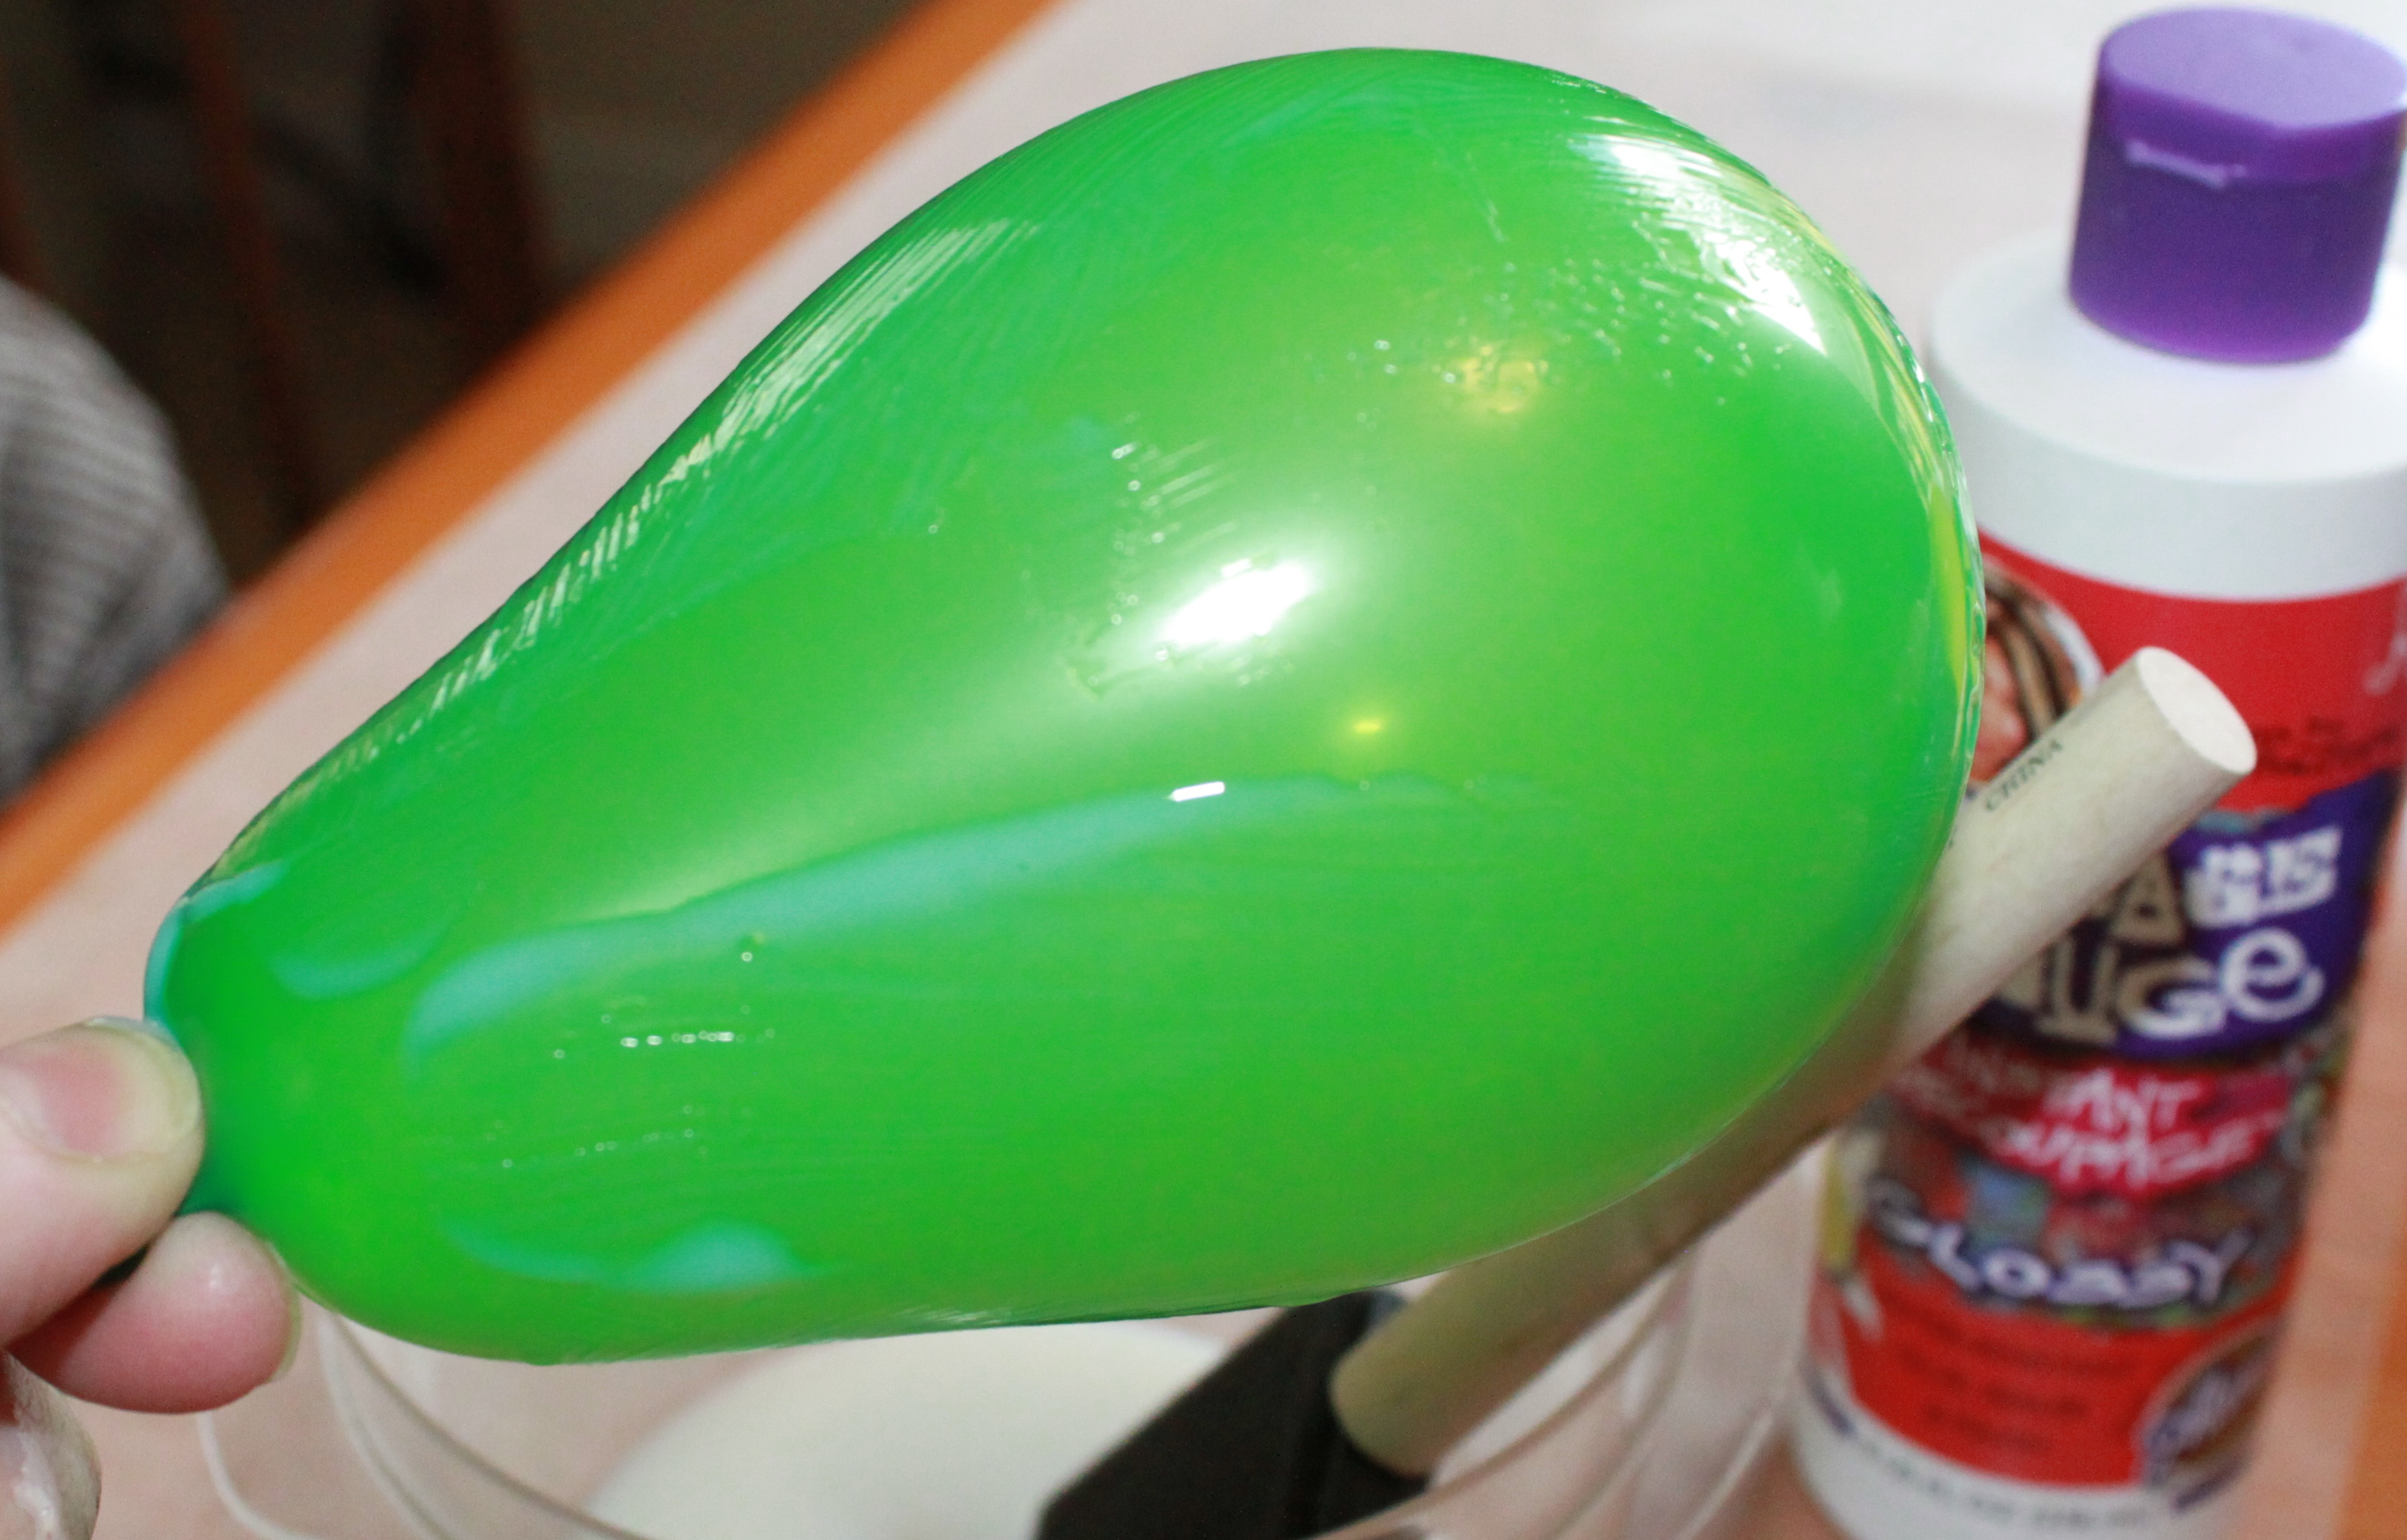
Dip yarn into flour mixture, and start wrapping around balloon until you get the desired look. Lay out on wax paper and find a place for them to dry completely. I let them dry for over 24 hours. You might want to rotate them periodically in order for them to dry. When fully dry, pop balloons! My 4 year old enjoyed helping with this part too. You may want to poke out some of the excess dried flour mixture to get the look you want. There you have it!
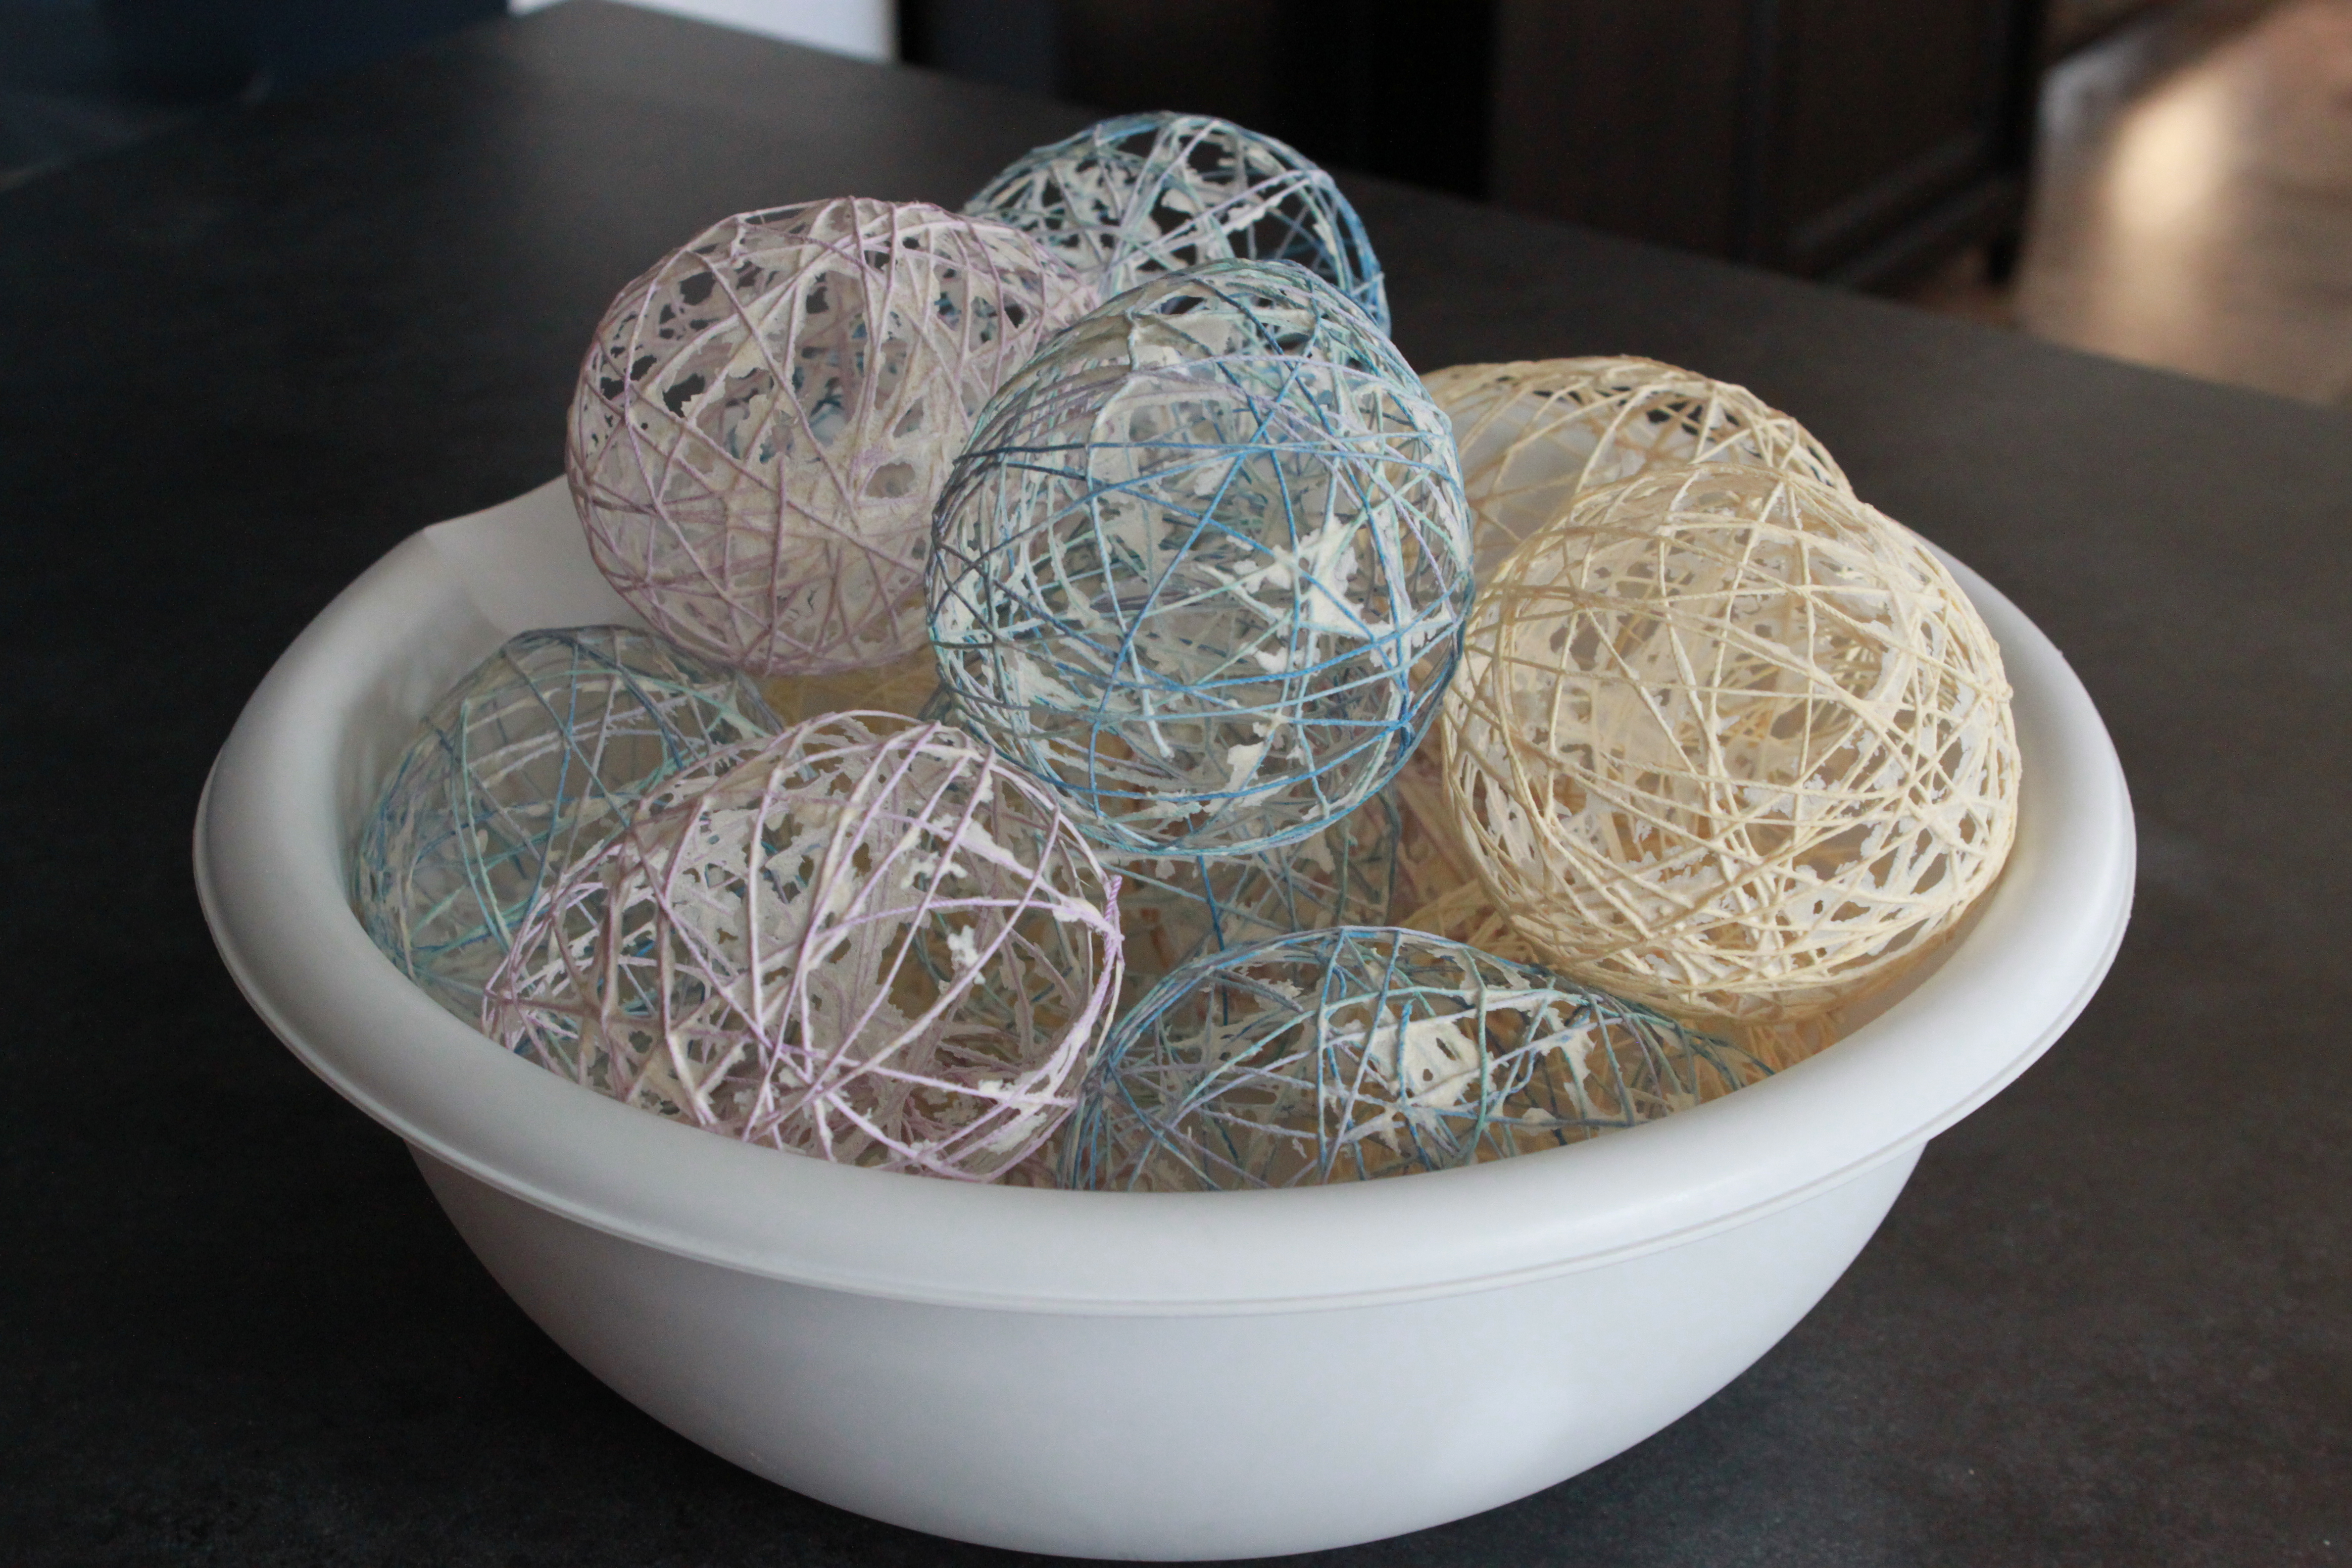
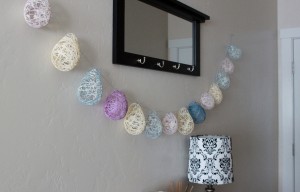
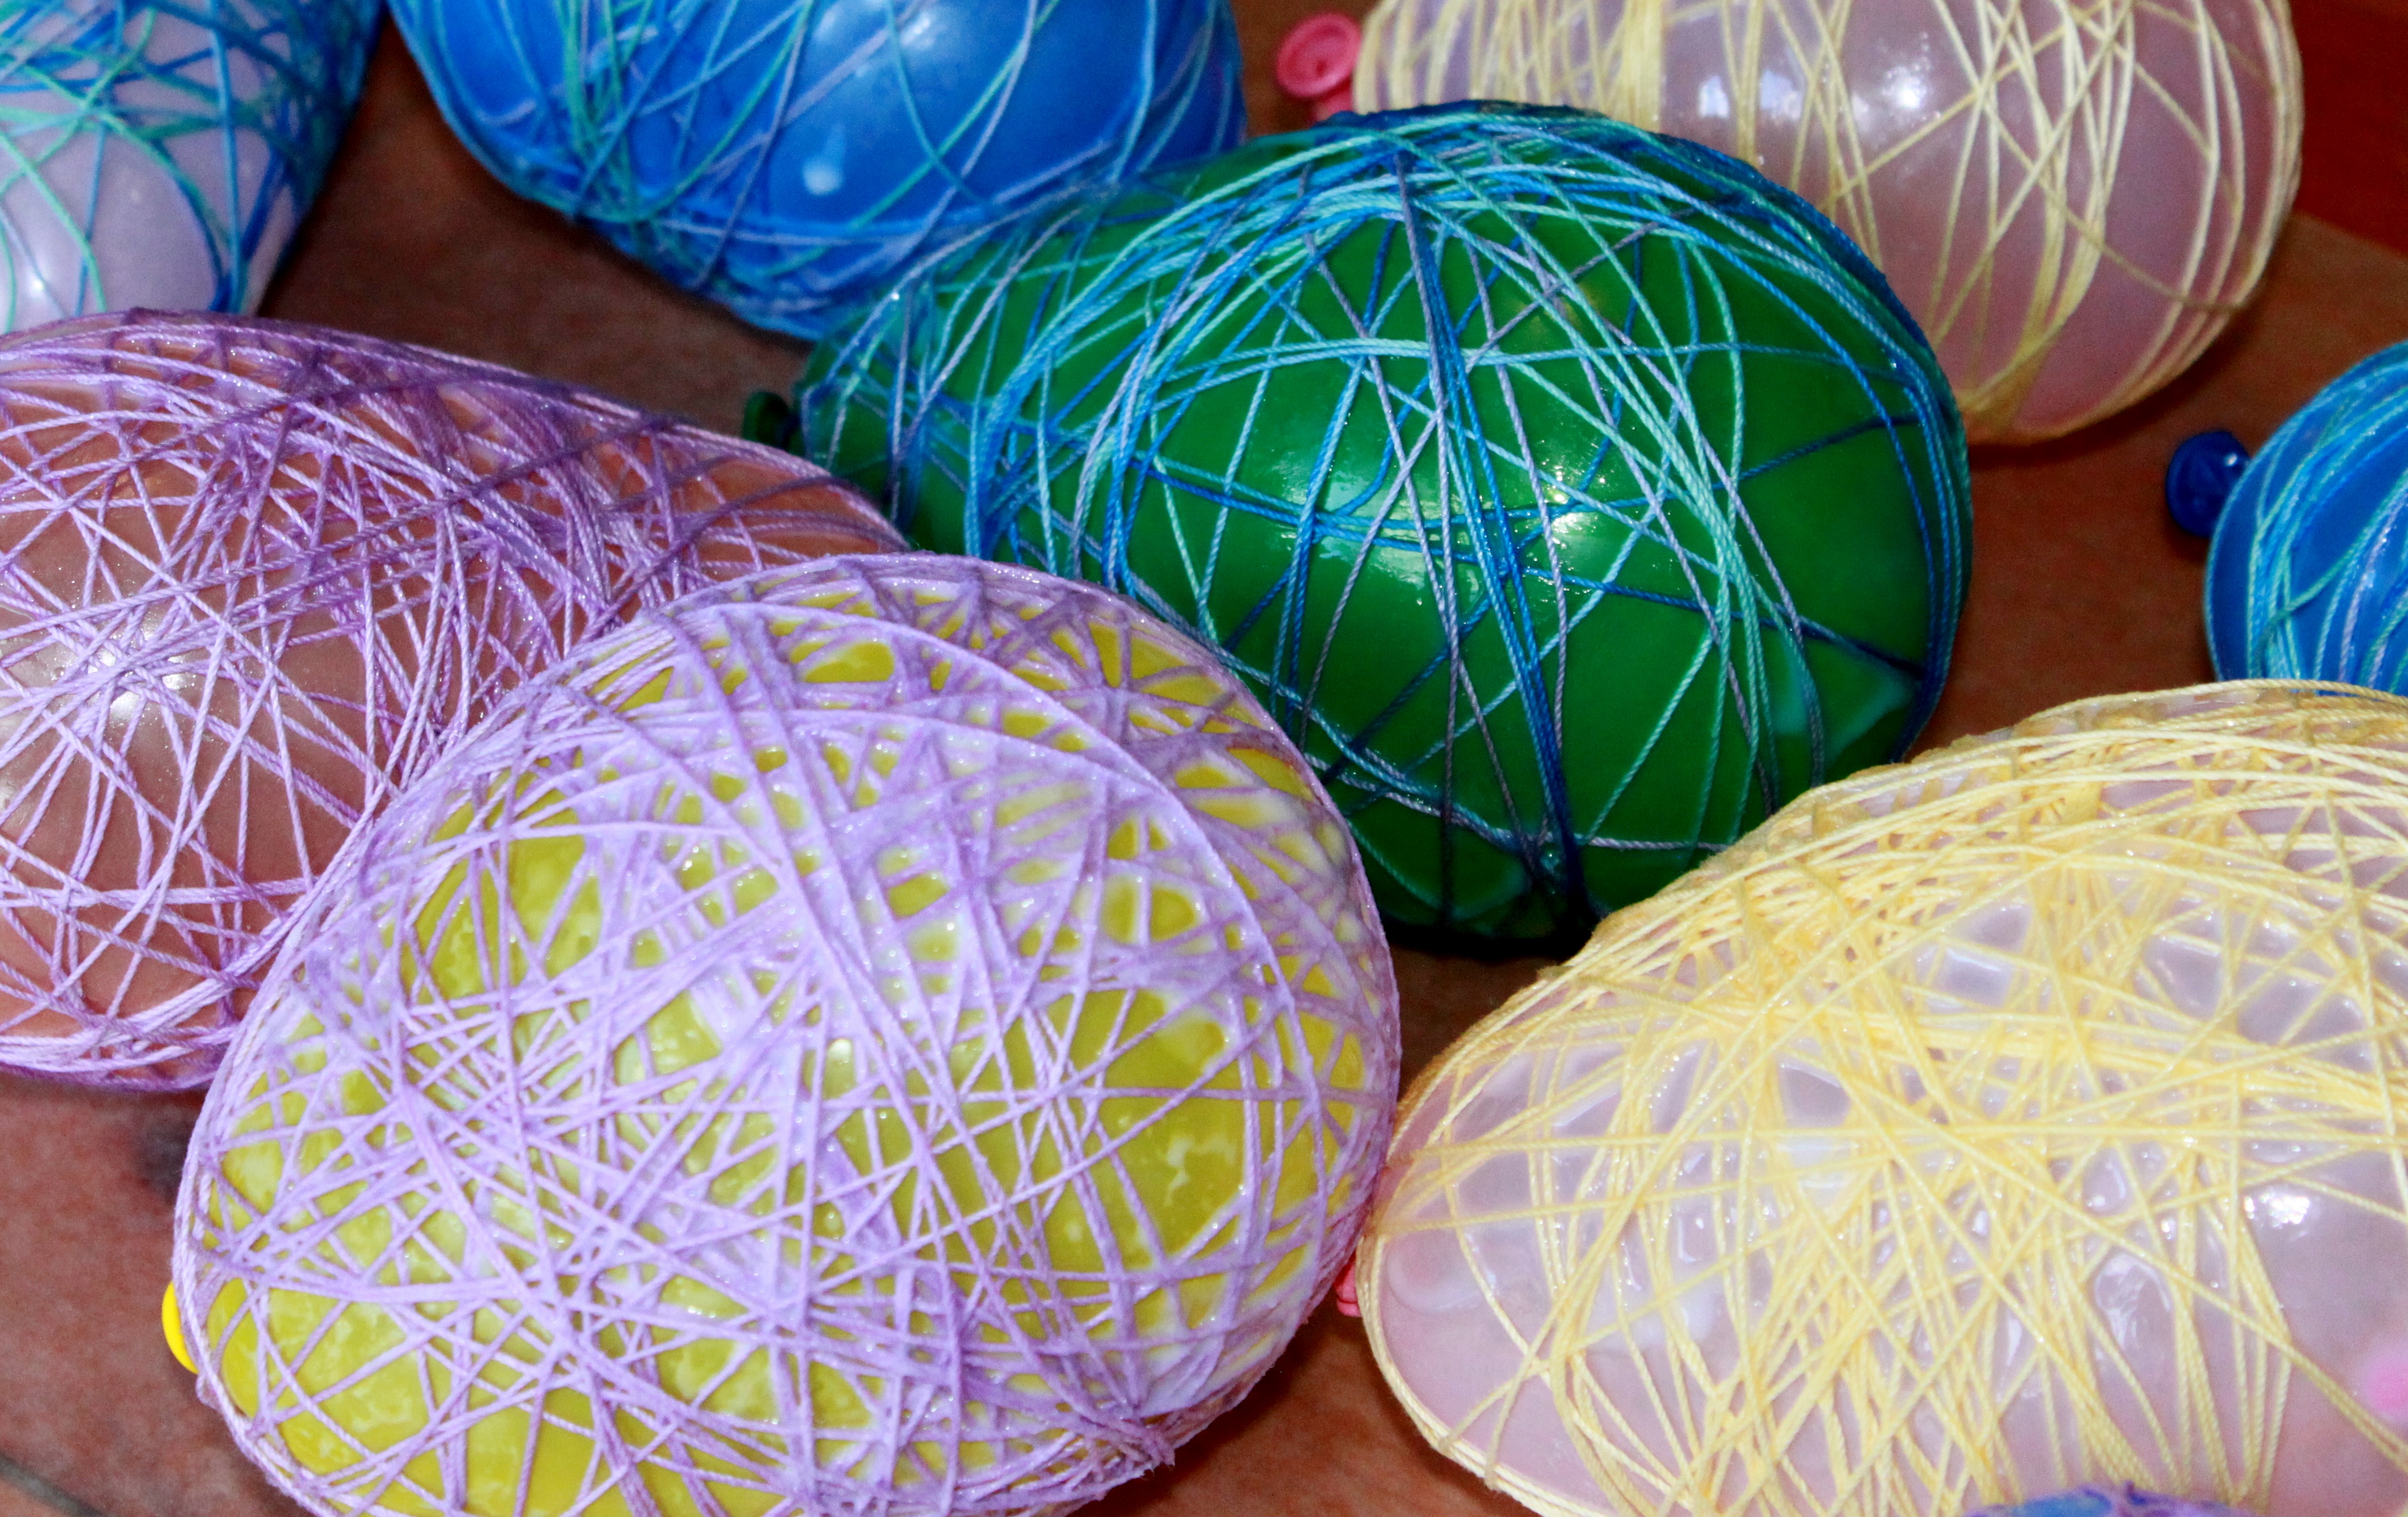
String them up as an Easter garland, or put them in a bowl to be a nice Easter centerpiece.
Comments
Leave a Reply
More Related Diys


Trending DIY Projects
- DIY
- Recipes
- Deals
- Blog


Report a Problem
Please select the problem you are facing with this deal:
- Price Increased
- Price Decreased
- No longer available
- Expired
- Link doesn't work
- Suggestion
- Compliment
- Other
Add more details:
Thank you for your feedback. We really appreciate it.
Enter your email address if you would like
to receive a follow up.
Please Try Again
Thanks for providing the email address.
We will reach out to you as soon as possible.


Popular
Recommended
About Us

At Fabulessly Frugal, our goal is to help you live HEALTHY, WEALTHY, and WISE! My team and I work hard to bring you the best, online deals, clean eating, DIY's, freezer meal recipes, and more! I LOVE coaching and inspiring people to improve their health in my fitness challenge! You should also check out my favorite cleanse! Learn more about me and the rest of my team.

Copyright © 2008–2024
Fabulessly Frugal: A Coupon Blog Sharing Gift Ideas, Amazon Deals, Printable Coupons, DIY, How to Extreme Coupon, and Make Ahead Meals. All rights reserved
We did this as kids using liquid starch. We would also sprinkle glitter on wet starch for Xmas ornaments.